Hello there Photonauts and welcome again to this tutorial
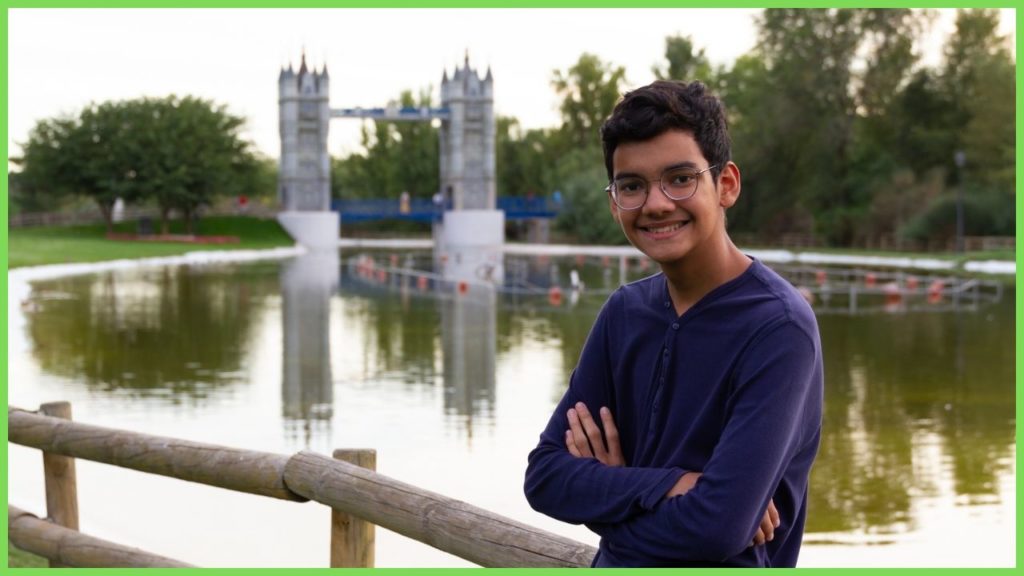
In this video I will be showing you how I transformed this picture that was captured in not too good weather conditions. The day was over casted, and everything around looked flat and dull. Besides I had to open the aperture to have more light over the subject and that washed out the sky completely.
Before discarding the picture, I used Luminar Neo to have the artificial intelligence system scan the photograph and suggest a fix or set of steps to transform the photo into something different.
My approach was to use pre-installed presets as a starting point and from there “fine tune” the adjustments the preset did. Luminar Neo is different from other editing software because the preset module is a standalone module and not part of the develop module.
The reason I think the preset module is a separate module is because the presets groups not only have the adjustments that are going to be applied to the different sections of the edit module, but it also performs AI processes like sky replacement.
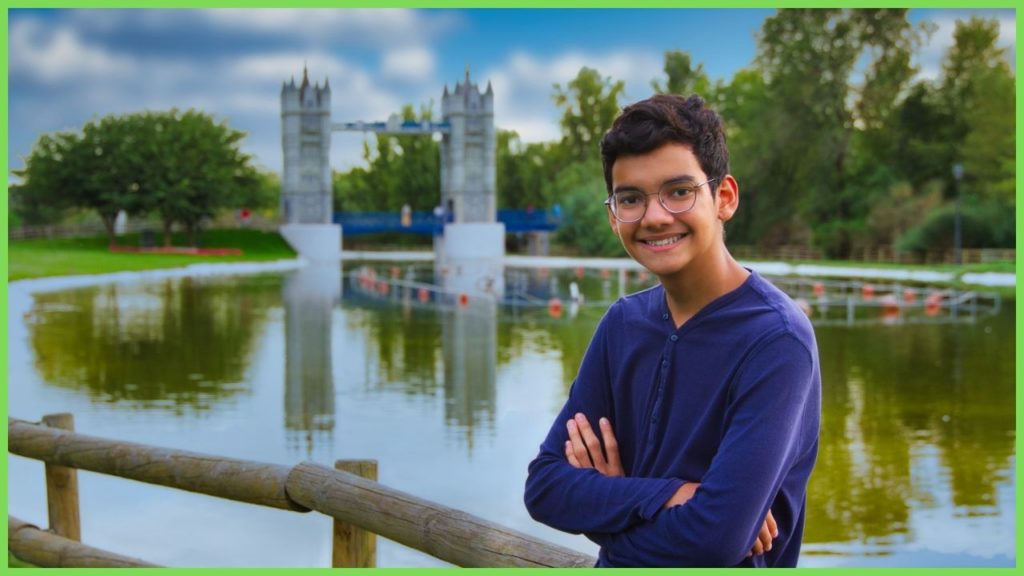
The preset I chose for this photograph is the “More Volume” under the Scenery section. I decided to use this one because it not only delivered the contrast, color balance, depth and overall, the sky replacement.
The steps to edit this photograph were:
- Apply preset
- Refine sky:
- Correct sky blur
- Correct sky reflection tone
- Remove effect over the skin
- whiten teeth
Each if the adjustments can be re-adjusted by going to the edits section and click over the adjustment that you would like to refine. Remember that you could always use masks, what I mean is that the adjustment could be removed, partially or totally, using the mask option present in each adjustment step.
You can see this in action checking in the video the part in where I remove one of the adjustments from the skin of the subject. I just selected the adjustment that I want to remove, select the masking option, and use a brush to remove clear the mask and reveal the skin unaffected by the adjustment.
What´ve learn using Luminar Neo is that masks are always applied in the reveal mode for each adjustment, in other words, it will apply the adjustment to the entire photograph and if you want to remove it from a part or parts of the picture, you will need to use a brush, linear or radial gradient tool in whatever is you case.
Ahh and btw, if you would like to buy the software check this link , it is an affiliate link, so I will get a commission. Thanks in advance!


[…] If you would like to check how I do the same using a different software check my tutorial using Luminar Neo by clicking here. […]