Get ready to create stunning panorama shots like a pro! In this video, I’m going to show you how to use the latest editing tools in Luminar Neo and Photoshop for creating beautiful panorama images with ease. See how you can make your photos look like they were taken by a professional photographer in just a few clicks!
Editing workflow
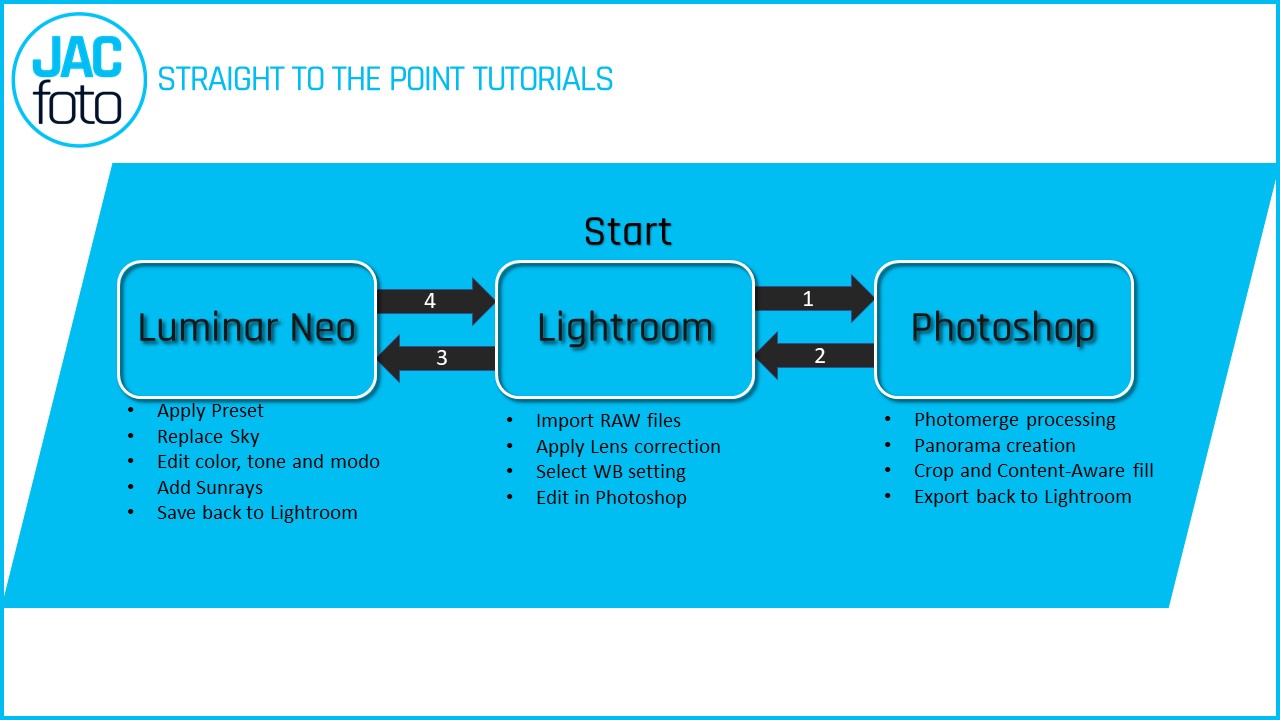
Creating a Panorama is a three-step process. First you´ll need to go out and shoot the photos, next you will need a panorama stitching software to build the panorama and finally you will have to crop and retouch your panorama to the desired style.
In this case I am using Lightroom as my “photo organizer” and as the interface between Photoshop and Luminar Neo. In Photoshop I will use the “Photomerge” tool to have PS AI analyze and process the panorama output. When Photoshop is done I save the photo back to Lightroom and edit/retouch the panorama in Luminar Neo.
The main reason I use Lightroom as the “middleman” is because it is easy for me to have Raw, panorama output and retouched panorama in one place. But you could use your current photo processing software as the “main character” in my opinion is the final retouching software, that in my case is Luminar Neo.
If you don´t own Lightroom or Photoshop but have Luminar Neo, you can still create your Panaroma using the open source program Hugin. I haven´t used it yet, but I have seen tutorials in Youtube and it seems to be a good software with good reviews. Here is the link if you want to check HUGIN: https://hugin.sourceforge.io/
Ligtroom:
Photoshop:
Luminar Neo:
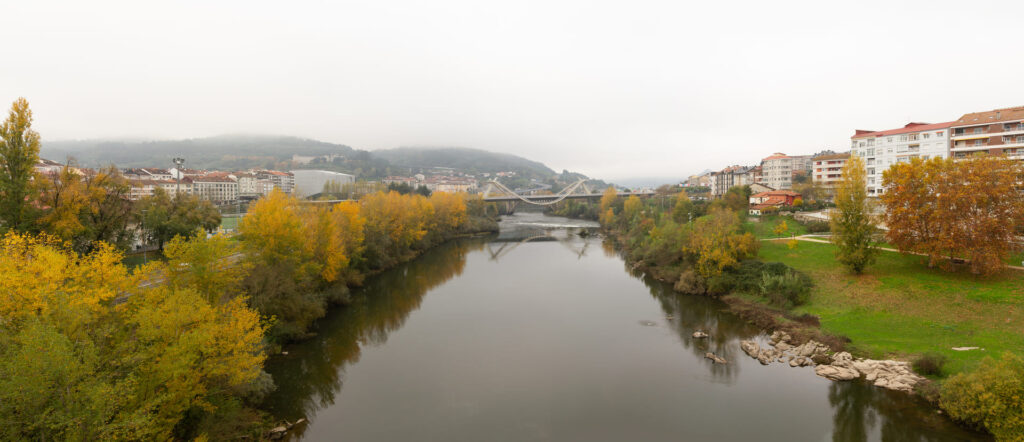
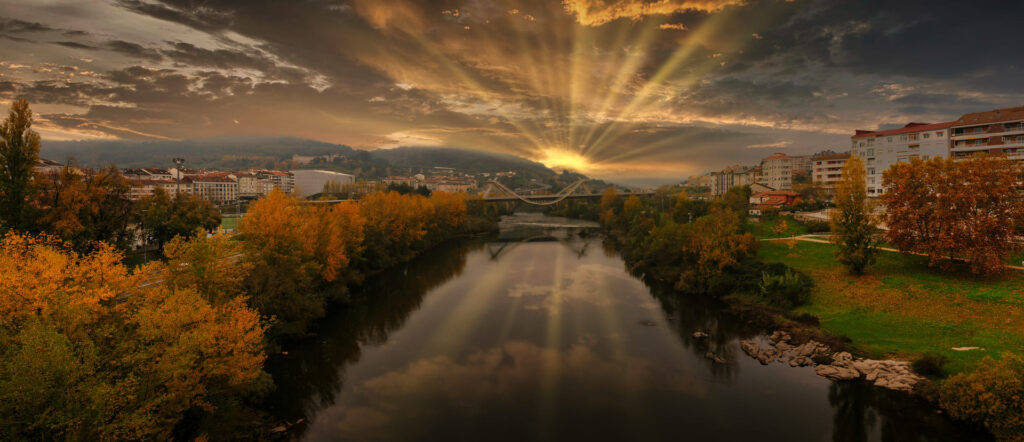
Below you could see the before and after:
If you want to check the current price, click here: ¡Luminar Neo BEST OFFER!
Until the next straight to the point tutorial!
Blessings,
José
Check it out!
One click edits
Edit your photographs in no time with excellent resuts. Presets, AI adjustments to transform your photos from great to WOW!
Change Background
Use the powerful background removal AI system to erase the background and replace it wtih one of your liking.

