Do you want to take your photo editing skills to the next level? Look no further than Luminar Neo, the all-in-one photo editing software that allows you to create stunning images with ease.
In this blog post, I will walk you through the Luminar Neo editing workflow for swapping the background of a photo easily. By the end of this post, you will have a solid understanding of the steps involved in creating a seamless background swap.
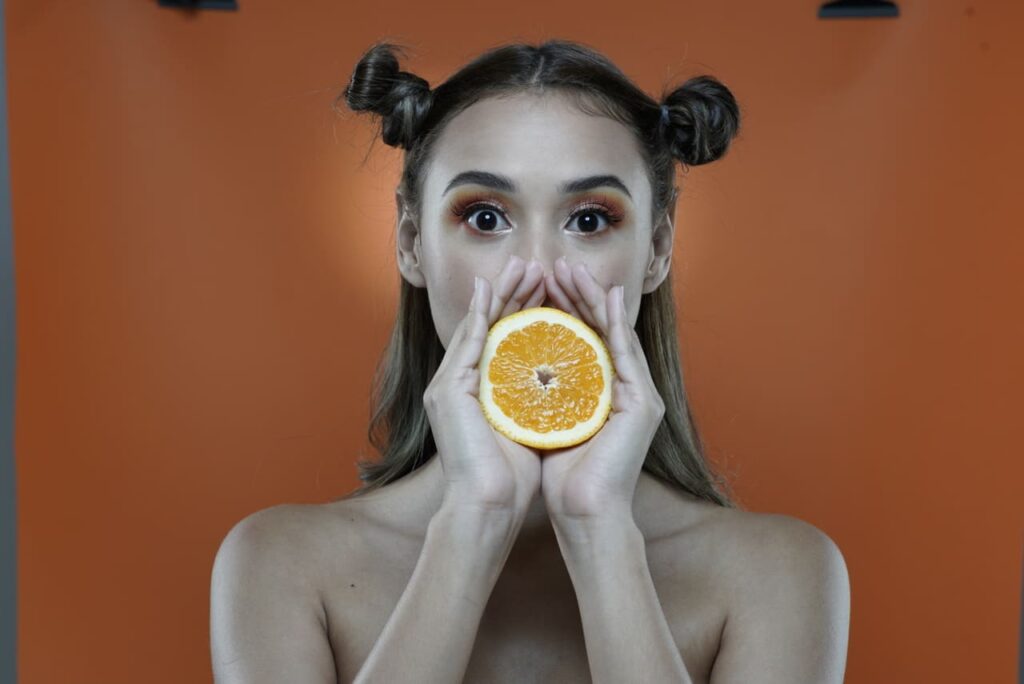
Photo: Signature Edits | Background image: Engin Akyurt-Pexels
Before we dive into the editing process, it is essential to note that Luminar Neo offers a wide range of tools that allow you to adjust various aspects of your photo. To keep things simple, we will focus on the essential tools needed to fulfill this task.
So, let’s get started!
Step 1: Develop (RAW)
The first step in the Luminar Neo editing workflow for this portrait photos is to develop the RAW file. To do this, start by selecting the “Develop” tab. Here, you can adjust the profile, white balance, and tint to achieve the desired look. For this portrait photo, I recommend using the Portrait profile and setting the white balance to Temp 5358 and the tint to +37. These settings will help bring out the skin tones and give this photo a warm, natural look.
Once you have adjusted the profile, white balance, and tint, you can move on to the next step.
Step 2: Layer Properties
The next step in the Luminar Neo editing workflow is to remove the background. Start by selecting the “Layer Properties” tab and then choose “Portrait Background Removal.” This tool will help remove the background and create a mask around the main subject.
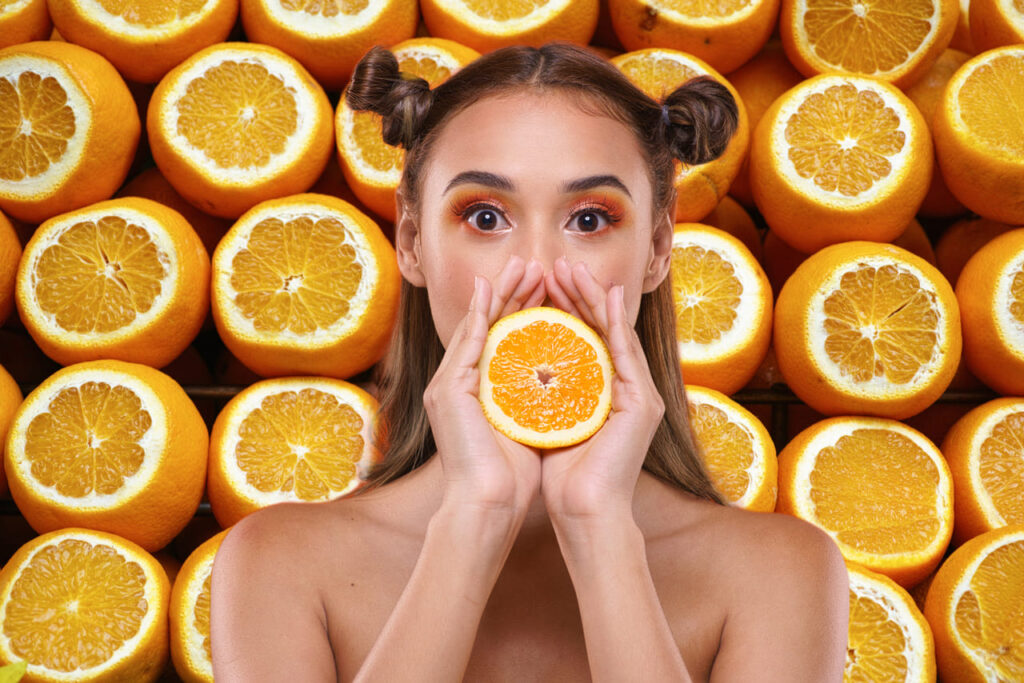
Once you have removed the background, it’s time to import a new background in a new layer. You can choose any image you like, but make sure it complements your subject and adds to the overall mood of the photo. To import a new background, hit the “plus” button in the Layer panel. Then, select the image you want to use.
With the new background layer in place, it’s time to move on to the next step.
Step 3: Face AI
The next step in the Luminar Neo editing workflow is to use the Face AI tool to enhance your subject’s face. This tool allows you to adjust the lighting, remove dark circles, and improve the eyebrows with just a few clicks.
To get started, select the “Face AI” tab and adjust the Face Light slider to +17. This will help brighten your subject’s face and bring out the details. Next, use the Eyes tool to remove any dark circles under your subject’s eyes by setting it to +58. You can also improve the eyebrows by setting the Improve Eyebrows slider to +49.
Now that we have enhanced the subject’s face, it’s time to move on to the next step.
Step 4: Skin AI
The next step in the Luminar Neo editing workflow is to use the Skin AI tool to enhance the subject’s skin. This tool allows you to adjust the amount of skin smoothing and remove any unwanted shine.
To get started, select the “Skin AI” tab and adjust the Amount slider to +64. This will help smooth out any imperfections in the subject’s skin. You can also use the Shine Removal tool to remove any unwanted shine by setting it to +20.
Now that you have enhanced your subject’s skin, it’s time to move on to the next step.
Step 5: Details
The next step in the Luminar Neo editing workflow is to adjust the details of this photo. This tool allows you to adjust the small and medium details in your photo and sharpen the image. You will add sharpening to the eyes only.
To get started, select the “Details” tab and adjust the Small slider to +12. This will bring out the smaller details in your photo. You can also use the Medium slider to reduce the medium details by setting it to -100. Finally, use the Sharpen tool to sharpen the image by setting it to +37.
Then with a brush in the masking section you will paint the adjustment in the areas you want it to appear. In this case the eyes.
Now that you have adjusted the details of your photo, it’s time to move on to the next step.
Step 6: Glow
The final step in the Luminar Neo editing workflow is to add a glow effect to this photo. This tool allows you to add a soft, dreamy look to your photo. I will use in this case to “soften” the skin of her shoulders, arms and upper chest.
To get started, select the “Glow” tab and adjust the Amount slider to +49. This will add a subtle glow effect to the photo. You can also use the Advanced settings to adjust the Softness, Brightness, and Contrast to achieve the desired look.
Now that you have added the glow effect, the edit workflow is complete!