Hey Photonauts… Luminar Neo is a powerful photo editor that helps me edit my images like a pro. In this video I’m going to show you how to merge an hdr photo in Luminar Neo fast and easy, so let’s get started!
What is HDR in photography
HDR photography is a technique for creating an image that to some extent will try to mimic how the human eye and brain works. HDR stands for high dynamic range and our eyes will always see the world in HDR.
In other words when we(humans) look at a landscape for example, our eyes with the help of the iris and other parts of the eye will capture the entire luminance range of it.
Then our brain will get these “images” and merge them in one in order to display a hdr scene.
That is the reason that if you go to the beach at sunrise our eyes will see the sky, sand and ocean with the “proper exposures” in one frame. But our cameras will not work the same way, we will need to hold the camera and shoot at least three photos.
Using the beach example, we will need to shoot a photo focusing the exposure on the sky, then the ocean and after the sand. In that way we have captured the “hdr” of the scene.
So what ‘s next? The answer: Merge or combine them!
What is HDR merge
HDR merge is a technique for combining “photo brackets” into one image. In the old days it took a lot of work, photographers needed to shoot the photos in film, develop, cut and paste negatives and then produce a positive in hdr.
Today with the digital revolution we have it easier. With the help of an hdr merge software, like Luminar Neo, we can achieve HDR results in no time. The software will take the bracketed photographs and apply complex algorithms and AI to create an HDR photograph for us.
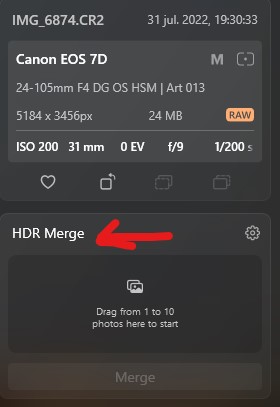
So what are these photo brackets that we need to merge an hdr.
HDR photo merge bracketing is the process of shooting pictures of the scene in different exposure settings(brackets). It is recommended to have three “brackets” or two at a minimum for the HDR merge software to work.
These brackets are typically one or two stops up and down from your initial exposure settings. Most of the modern digital cameras today have bracketing options, so check your camera manual to find how you go about it.
HDR photo merge best camera settings
There are not such “best settings” to shoot an HDR. But one thing that has helped me a lot not only with HDR photos but in general is to use the automatic metering mode of the camera to get an initial idea.
I will then evaluate the exposure settings suggested by the camera and re-adjust to my liking and purpose of the photo. Depending on the scene I will compensate to under/over expose the frame to suit my needs.
When readjusting the exposure settings, watch out for totally washed out highlights or complete dark shadows, remember that the camera will calculate the brackets based on your initial settings and these are “mathematical calculations” ´cause the camera is not seeing, it is using your initial settings to decide what would be the best settings for each bracket.
I will recommend calculating the initial exposure based on the main subject in the frame. Depending on the composition principle you are using, you can easily figure out what that main subject or area of the photo is.

Once you have the desired exposure it is time to set the brackets. I recommend shooting ½ stop brackets first. If the differences between photos are too subtle then move to 1 stop brackets and repeat the process until you get different levels but not too far from each other.
HDR photo merge best practices
Below I share some best practices that have had work for me. Remember, these are recommendations not rules:
For the photo shooting session:
HDR merging in the software:
hdr photo merge before and after
I didn’t shoot these photographs with a tripod, so I used only two of the brackets to merge the HDR in Luminar Neo. After the hdr was combined I edited them using presets or direct edits as you will see in the video tutorial.
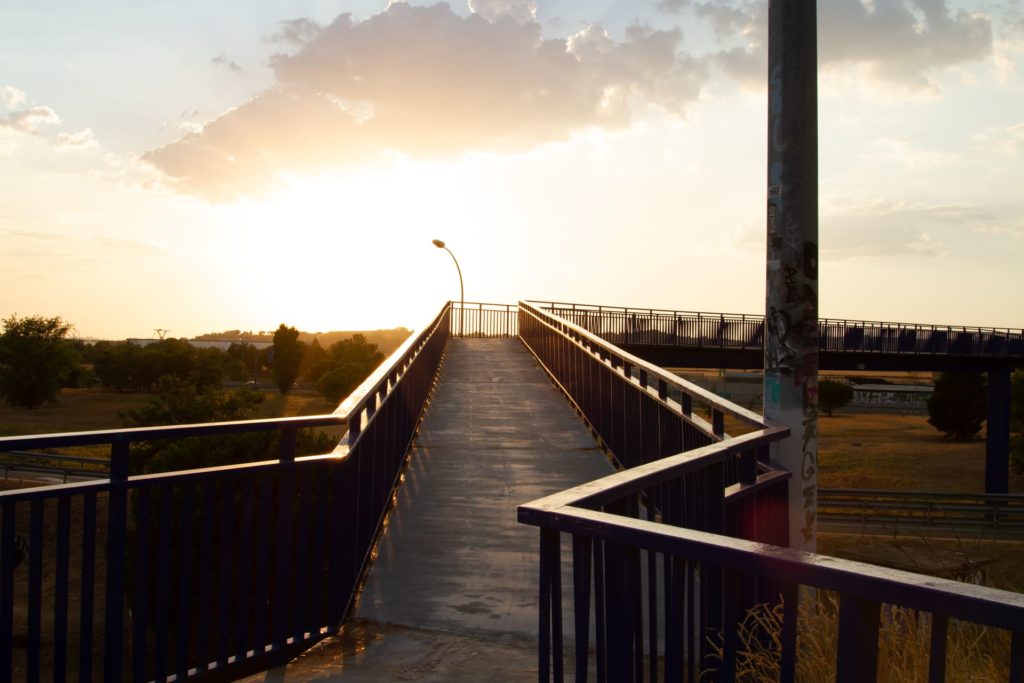
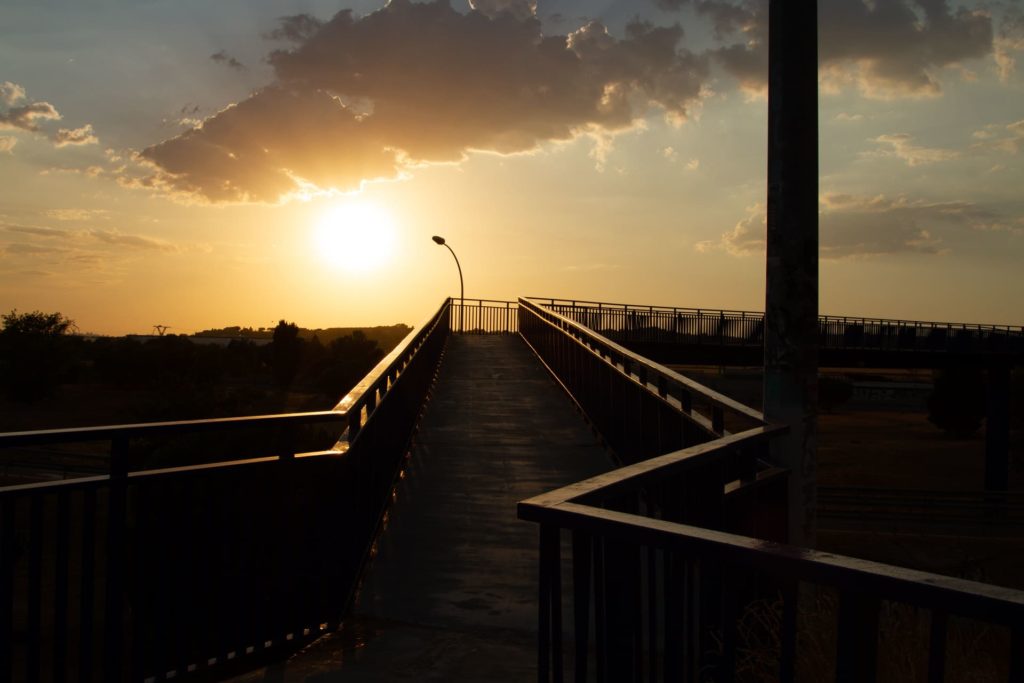
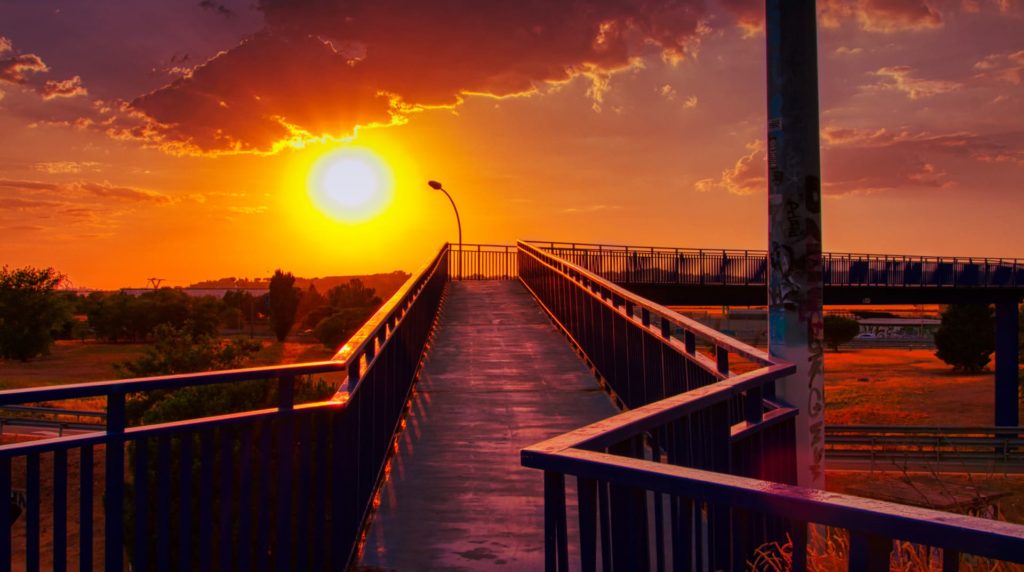
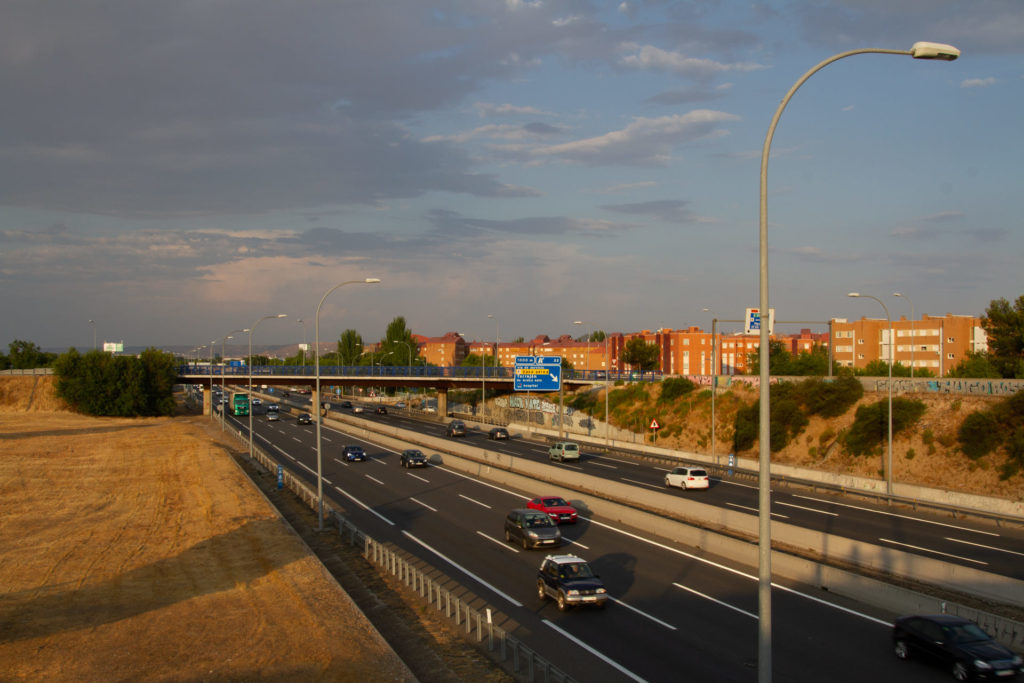
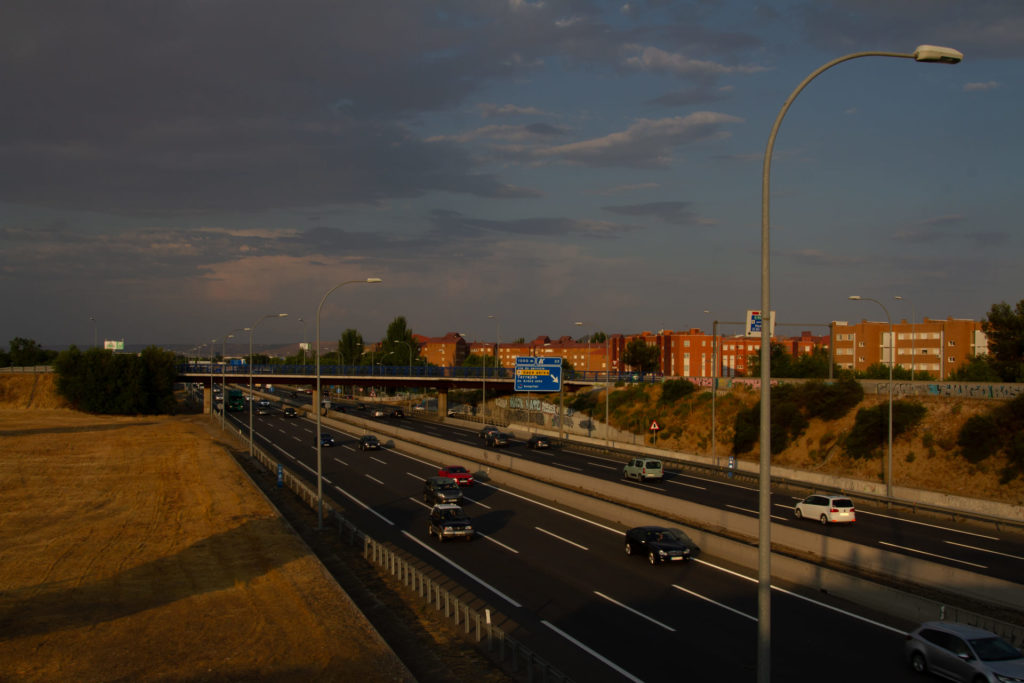
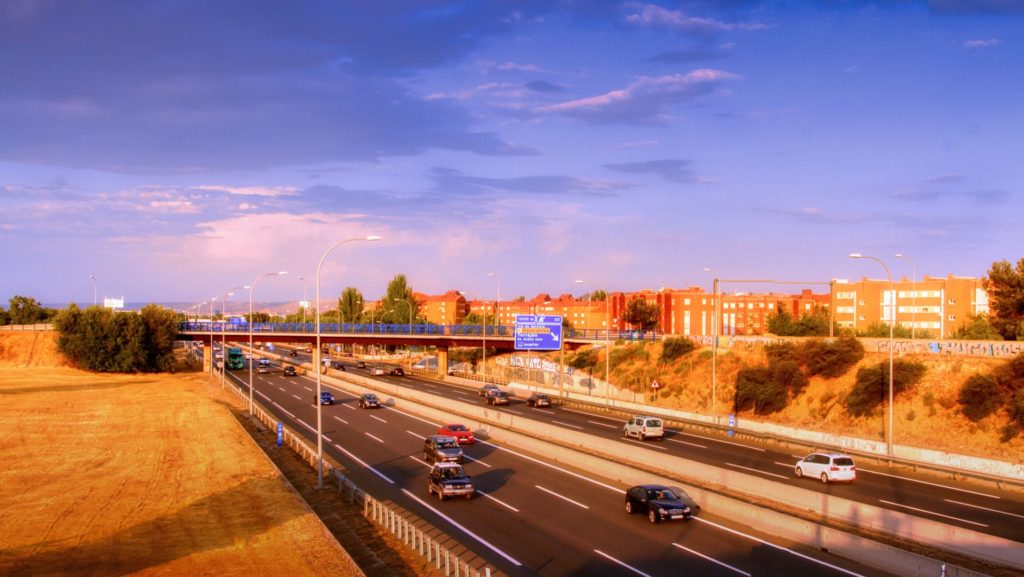
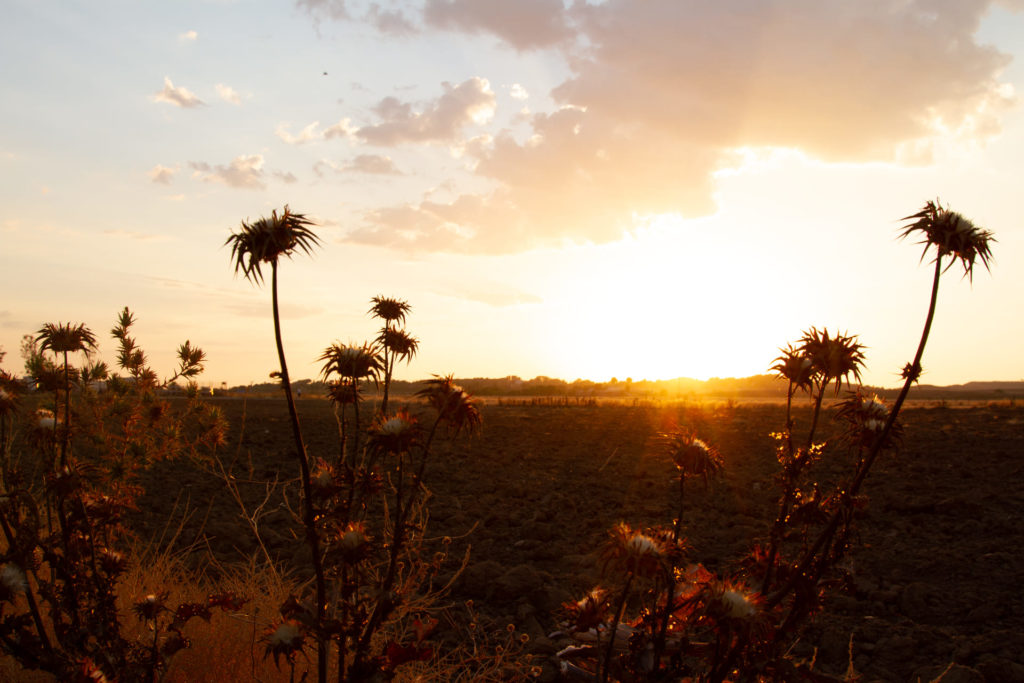
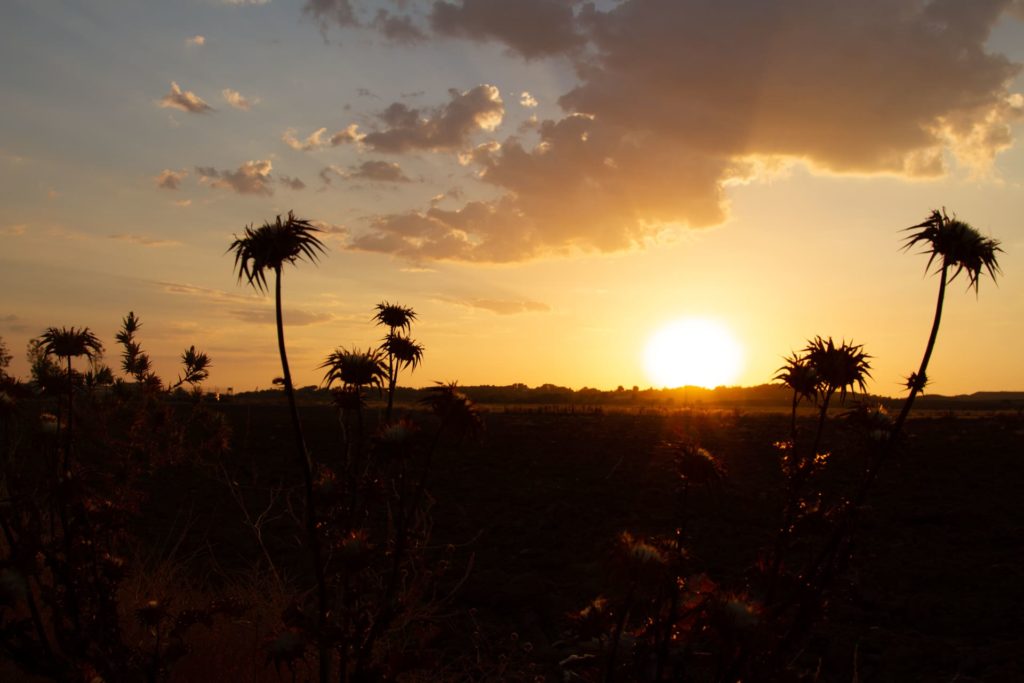
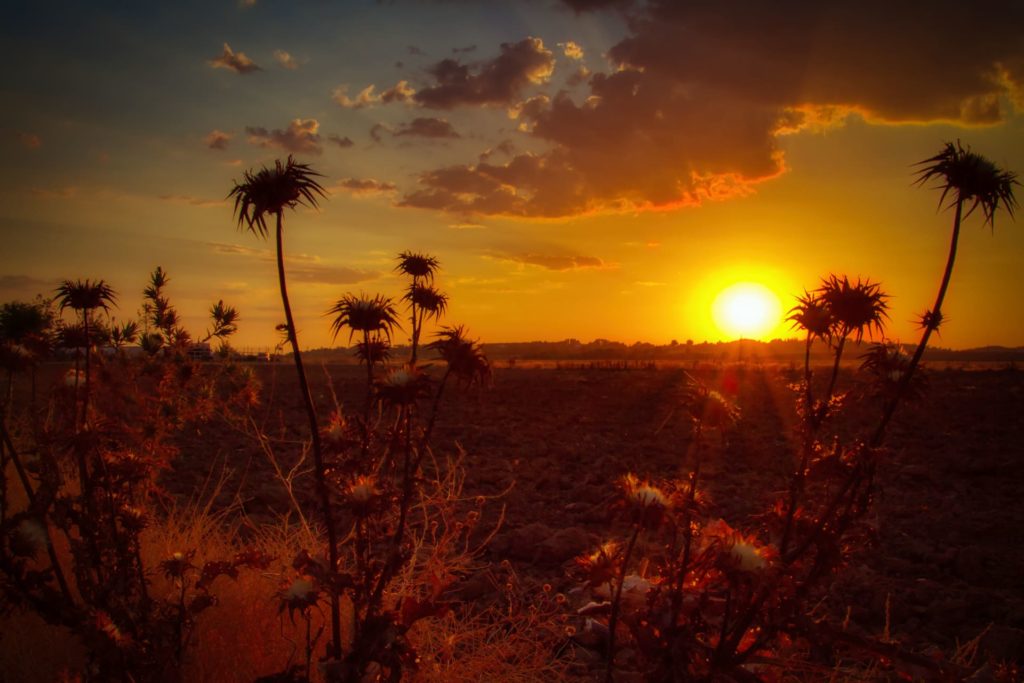
Check it out!
One click edits
Edit your photographs in no time with excellent resuts. Presets, AI adjustments to transform your photos from great to WOW!
Change Background
Use the powerful background removal AI system to erase the background and replace it wtih one of your liking.