In this tutorial video, I’m going to show you how to retouch photos in just minutes using Artificial Intelligence tools. I’ll show you how to use Luminar Neo and get the perfect Headshot photo for LinkedIn, Facebook or Website profiles in no time!
Download practice photo: Tales Henn@BoutiqueRetouching
How to edit Headshots Photos in Luminar Neo?
Nowadays with the incremented use of social media and companies going out heavily to promote their products and services, professional headshot photos are more and more demanding.
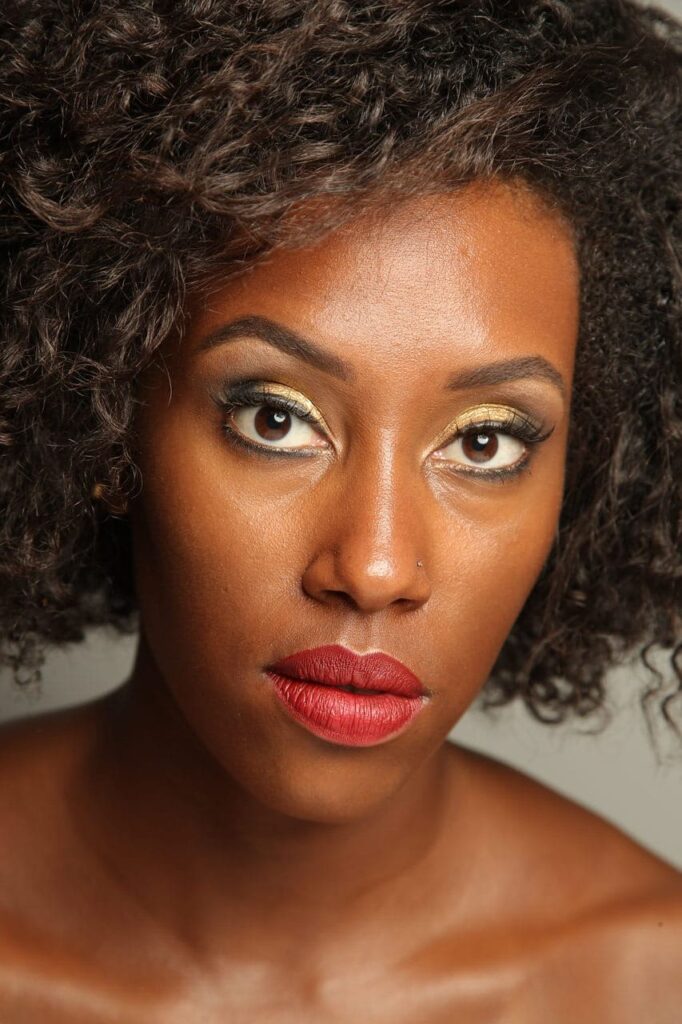
Typically, a headshot is a portrait of a person from shoulders up in where the subject is focusing or looking directly to the camera lens. Depending on the purpose of the photo the photographer will use soft flattering light to avoid hard shadows and/or expose skin blemishes.
In other cases, like in this portrait, the photographer used a beauty dish that for fashion or artist headshots is commonly used. Even though there are not hard shadows the light is so bright that highlights face shine and blemishes.
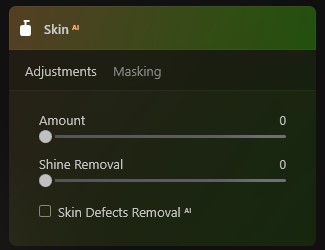
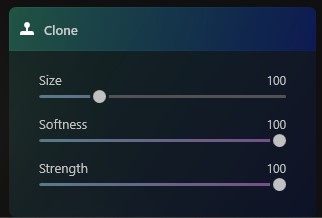
Retouching face shine is difficult, it requires patience and time to reduce them to an acceptable level. I decided to use Luminar Neo Skin AI to soften the skin and attenuate face shine and the results were good in my opinion.
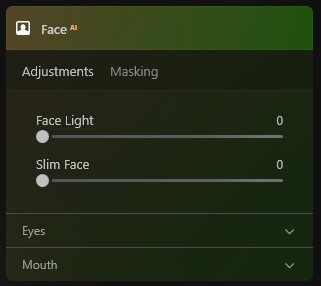
Editing workflow in Luminar Neo
One thing I like about Luminar Neo, is that it makes it easy to accomplish certain tasks that usually will take several steps in other photo editing software. The workflow I used to edit this portrait is the following:
My Luminar Neo favorite tools
The main reason I am using Luminar Neo more an more in my edits is because of the AI based tools.
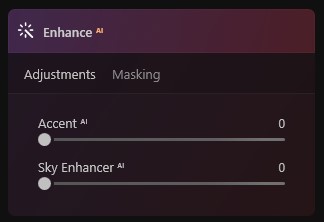
Even though some of the adjustments might look exaggerated, I did it like that because I knew that the overlay layer will darken and soften the light due to the “soft light” layer blending mode.
Below you could see the before and after:

If you want to check the current price, click here: ¡Luminar Neo BEST OFFER!
Until the next straight to the point tutorial!
Blessings,
José
Check it out!
One click edits
Edit your photographs in no time with excellent resuts. Presets, AI adjustments to transform your photos from great to WOW!
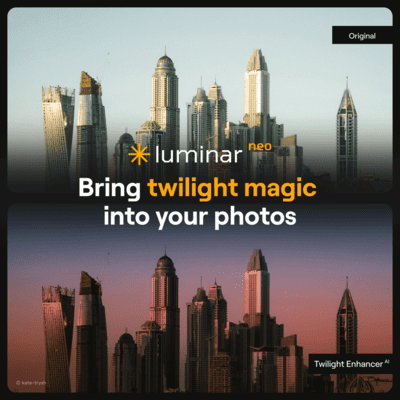
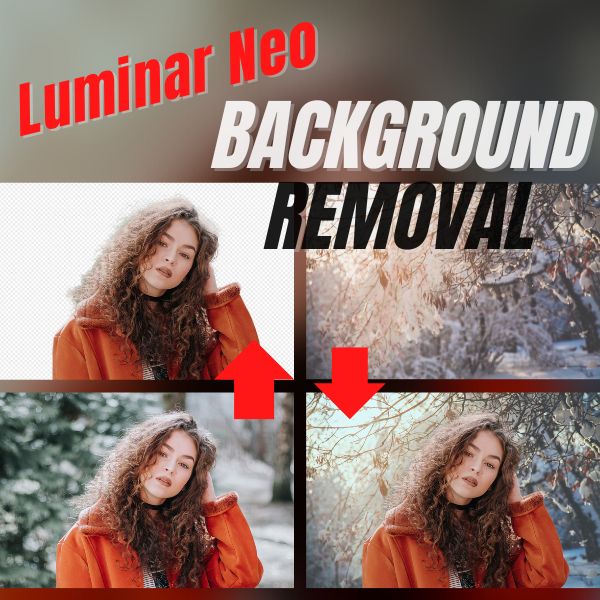
Change Background
Use the powerful background removal AI system to erase the background and replace it wtih one of your liking.