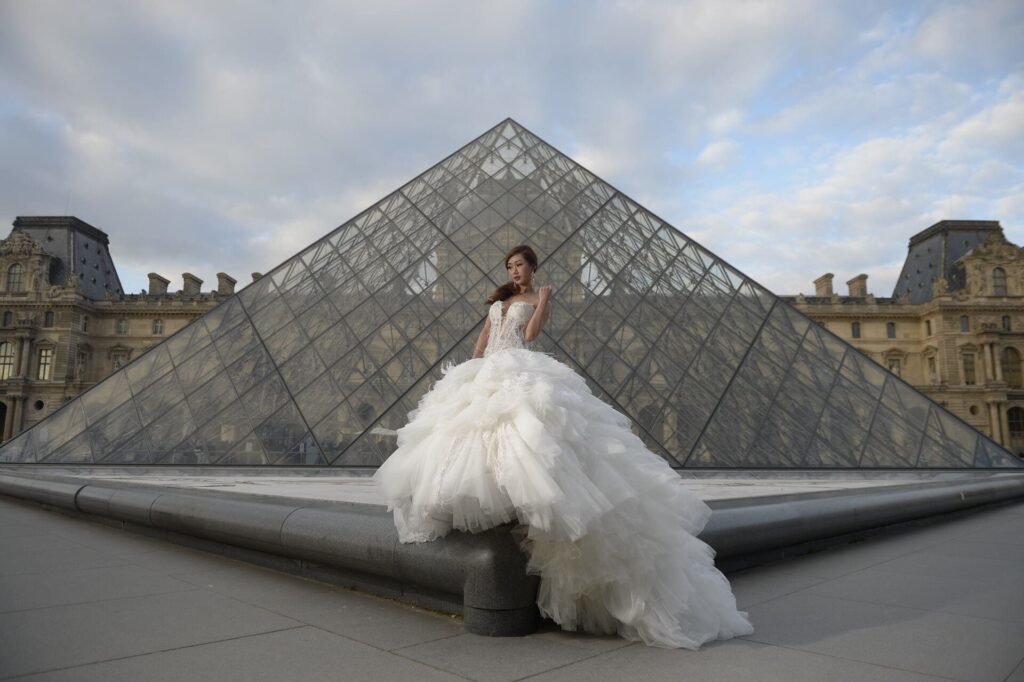
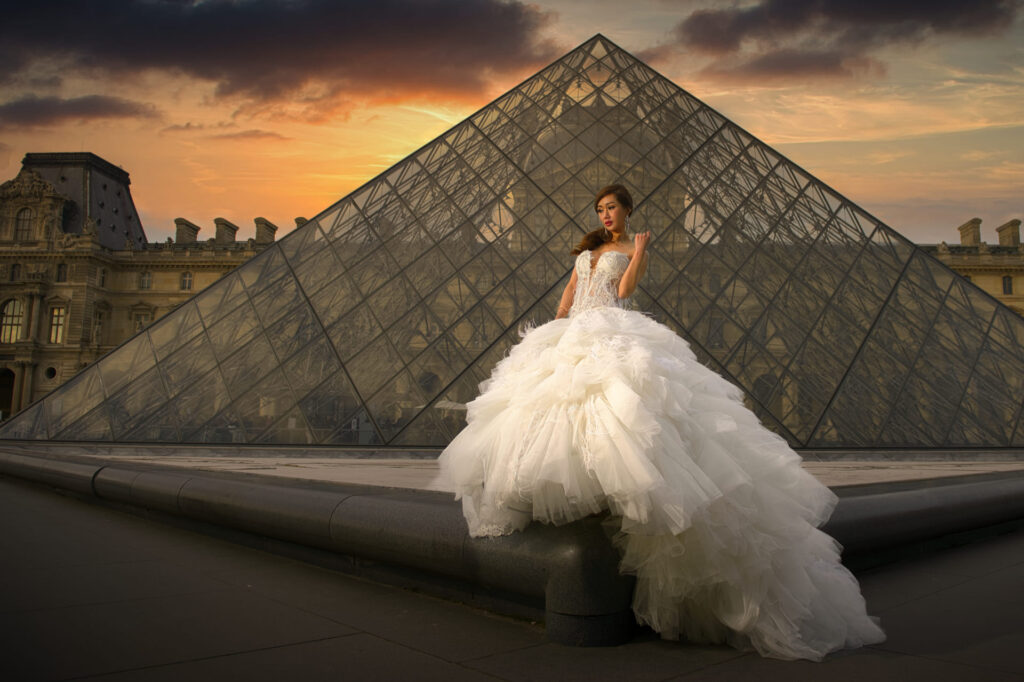
I recently had the pleasure of using Luminar Neo to enhance an outdoor photo.
Download practice photo: https://www.signatureedits.com/free-raw-photos/
Editing workflow in Luminar Neo
First, I opened the image in the Develop tool and changed the camera profile to neutral to give me a neutral canvas to work with.
Next, I added the Landscape tool and adjusted the settings to create a warm tone that complemented the natural hues in the photo. I wanted to make sure the colors looked rich and inviting, which the Landscape tool helped me achieve.
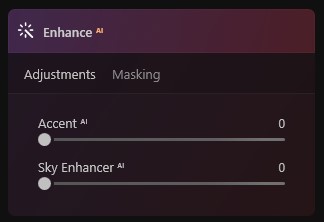
Then, I decided to replace the sky using the Sky AI tool. This allowed me to swap out the dull and overcast sky for a more vibrant and interesting one. I then tweaked the overall tone of the image to match the new sky, ensuring that everything blended together seamlessly.
To add more depth and dimension to the image, I used the Super Contrast tool to affect only the highlights and midtones. This created a striking contrast between the brighter and darker areas of the photo, which made it more visually appealing.
Next, I added a linear gradient on the top and bottom of the image and reduced its exposure to darken those areas slightly. This created a horizontal vignette effect that drew the viewer’s eye towards the center of the photo.
To add a final touch of sharpness, I used the Supersharp AI tool. This tool helped me to bring out some of the finer details in the image and make it look even more crisp and clear.
Finally, I wrapped up the editing process by adding a regular vignette to further enhance the overall mood and atmosphere of the photo.
Overall, I was really pleased with the results of my Luminar Neo workflow. The tools are intuitive and easy to use, and the final image was a beautiful representation of a natural outdoor photo captured.
My Luminar Neo favorite tools
The main reason I am using Luminar Neo more an more in my edits is because of the AI based tools.
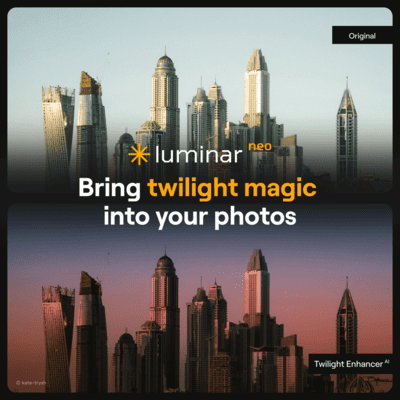
Below you could see the before and after:
If you want to check the current price, click here: ¡Luminar Neo BEST OFFER!
Until the next straight to the point tutorial!
Blessings,
José
Check it out!
One click edits
Edit your photographs in no time with excellent resuts. Presets, AI adjustments to transform your photos from great to WOW!
Change Background
Use the powerful background removal AI system to erase the background and replace it wtih one of your liking.