Editing outdoor portraits can be challenging, especially if you want to achieve a stunning result. However, with the right tools and techniques, you can transform your photos into masterpieces.
In this blog post, we will guide you through a step-by-step process of editing your outdoor portraits using Luminar Neo.
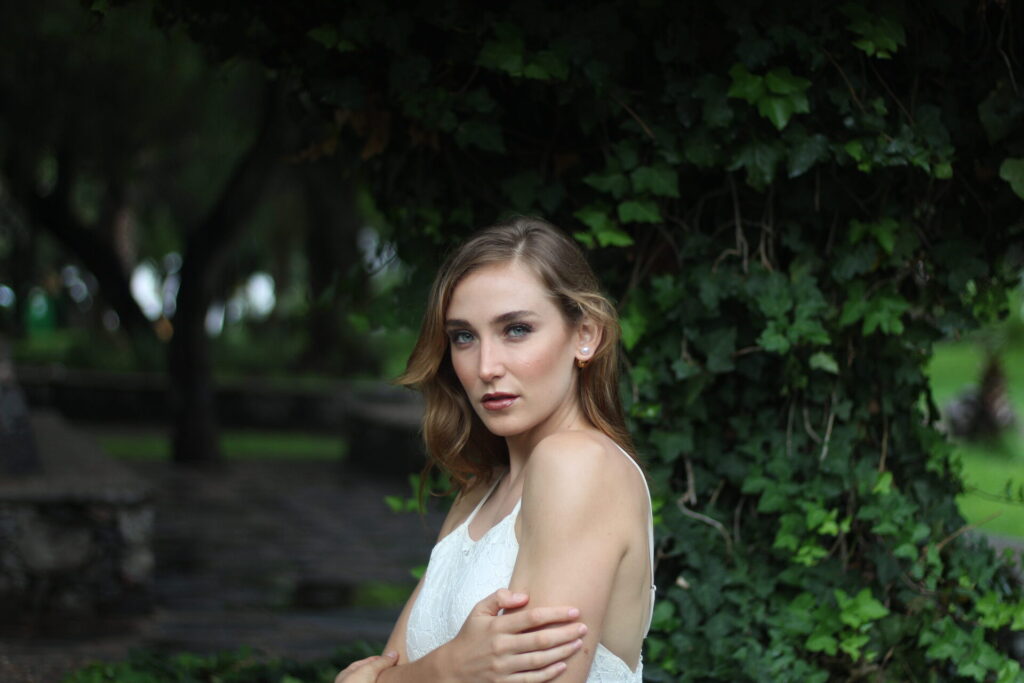
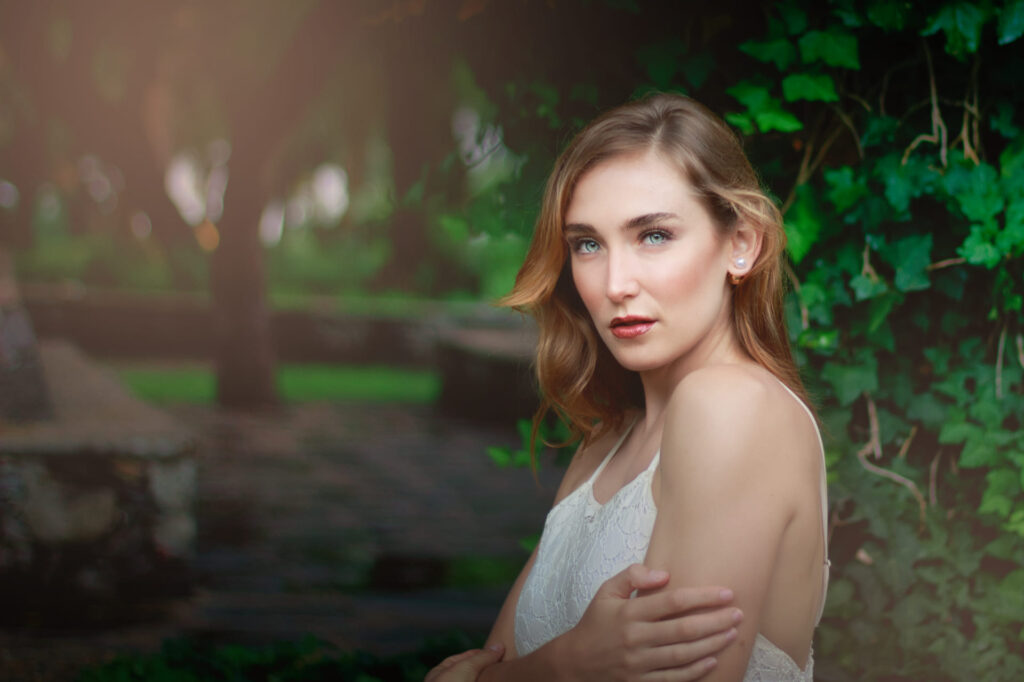
Photo: Signature Edits | Sun Flare Package: Sun Flares
Luminar Neo is a powerful software that provides various editing tools to enhance your photos. We will explore the features of Luminar Neo and show you how to use them effectively to create a beautiful outdoor portrait.
So, download this outdoor portrait and let’s get started!
Correcting Composition and Color
The first step in editing your outdoor portrait is to correct the composition and color. Luminar Neo provides a Composition AI tool that automatically corrects the composition of your photo.
This tool works by analyzing the elements of your photo and suggests the best crop. You can customize the suggested crop or use it as it is.
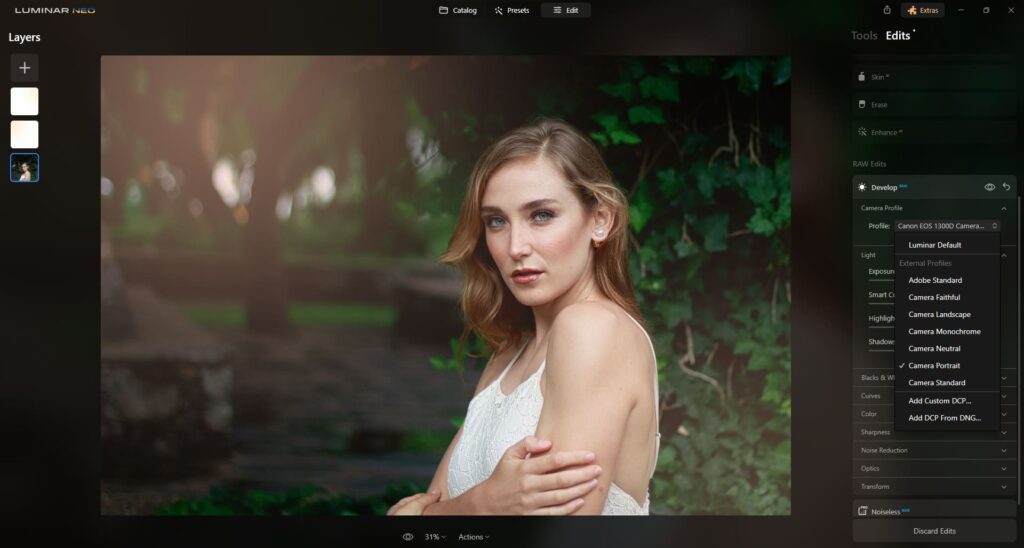
After correcting the composition, you can move on to correcting the color. Luminar Neo provides various camera profiles that you can use to select the best profile for your portrait.
If you are not happy with the camera profile, you can manually adjust the color using the sliders provided. By doing so, you can achieve a natural and vibrant look for your portrait.
To enhance the overall brightness of your photo, you can use the Enhance AI tool. This tool works by analyzing the photo and applying the best adjustments to lift up the brightness. You can customize the adjustments to your liking.
Skin Retouching and Enhancing Face Features
Now that you have corrected the composition and color, you can move on to retouching the skin of your subject. Luminar Neo provides an Erase tool that you can use to remove skin blemishes.
This tool works by analyzing the surrounding pixels and replacing the blemishes with the best match. You can adjust the size and opacity of the tool to achieve a natural look.
After removing the skin blemishes, you can use the Skin AI tool to retouch the skin of your subject. This tool works by analyzing the skin and applying the best adjustments to smoothen the texture and remove any skin defects.
You can adjust the amount of the tool to your liking. Additionally, you can enable the Skin Defects Removal engine to automatically remove any skin defects.
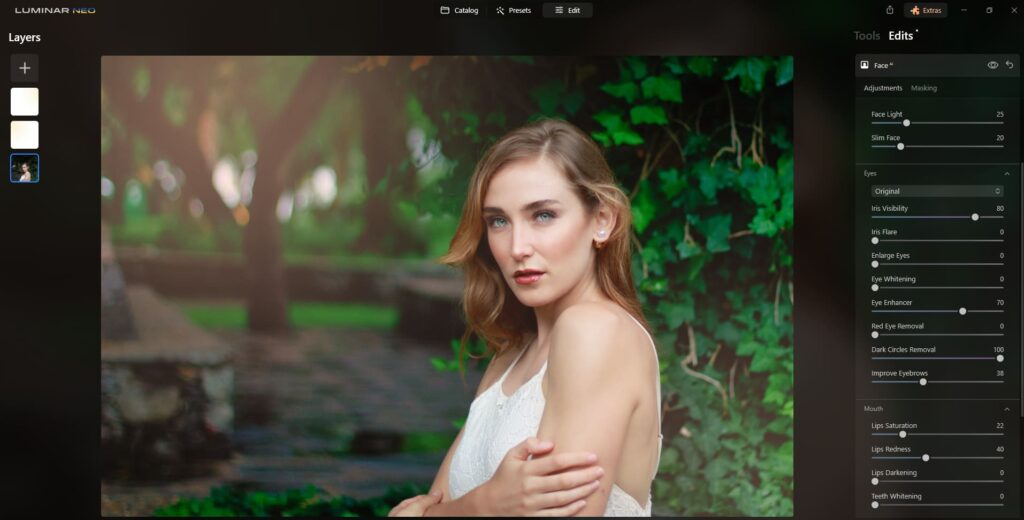
Now that the skin is retouched, you can enhance the face features of your subject using the Face AI tool. This tool provides various adjustments that you can use to enhance the face, eyes, and lips.
For example, you can use the Facelight adjustment to brighten the face, the Slim Face adjustment to slim down the face, the Eye enhancer adjustment to enhance the eyes, and the Dark Circles Removal adjustment to remove dark circles under the eyes.
You can adjust the amount of each adjustment to your liking. Additionally, you can use the Improve Eyebrows adjustment to enhance the eyebrows, and the Lips Saturation and Lips Redness adjustments to enhance the lips.
Details, Dodge and Burn, and Glow
Now that you have enhanced the face features, you can move on to sharpening the eyes and lips using the Details tool. This tool provides various adjustments that you can use to sharpen the details of your photo.
For example, you can use the Small details adjustment to sharpen small details such as the eyes and lips, the Medium details adjustment to sharpen medium details such as the hair, and the Sharpen adjustment to sharpen the overall photo.
If you want to selectively enhance the face features, you can use the Dodge and Burn tool. This tool works by adjusting the exposure of specific parts of your photo.
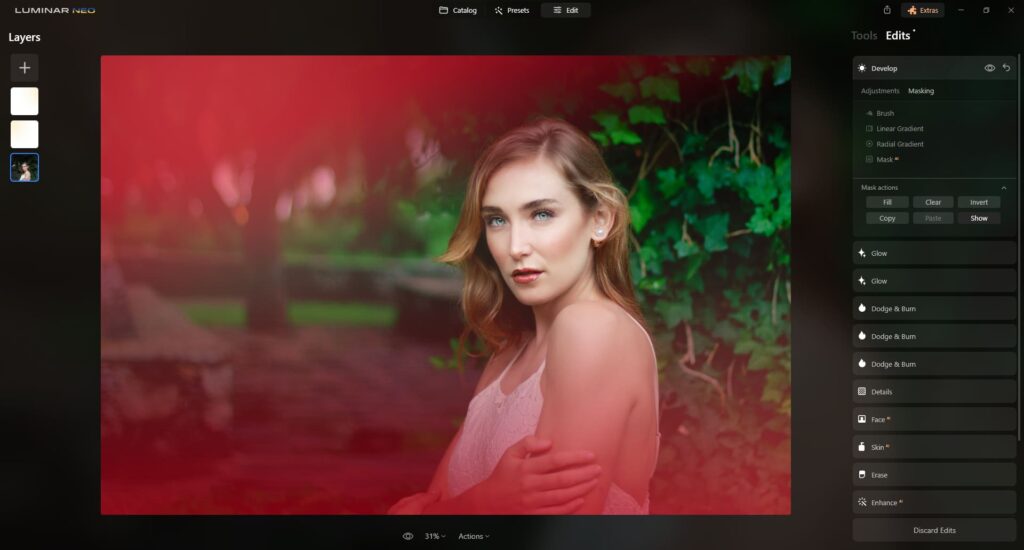
You can use the brush tool to paint over the areas that you want to enhance or darken. By doing so, you can achieve a natural and subtle look.
Finally, you can use the Glow tool to soften the skin of your subject. This tool works by adding a soft glow to the skin, making it look smoother and softer.
You can adjust the strength of the glow to your liking. Additionally, you can use the Glow adjustment to soften the arms, chest, and hands of your subject.
To add a finishing touch to your portrait, you can create a vertical vignette using linear gradients and lowering the exposure in the Develop tool. This will draw the viewer’s attention to the subject’s face and create a more dramatic effect.
Final Comments
Editing outdoor portraits can be challenging, but with the right tools and techniques, you can create stunning results. Luminar Neo provides various editing tools that you can use to correct the composition, color, and skin of your portrait.
Additionally, you can enhance the face features, sharpen the details, selectively enhance the face features, and soften the skin using the tools provided. By following this workflow, you can create a beautiful outdoor portrait that will impress your audience.
Check it out!
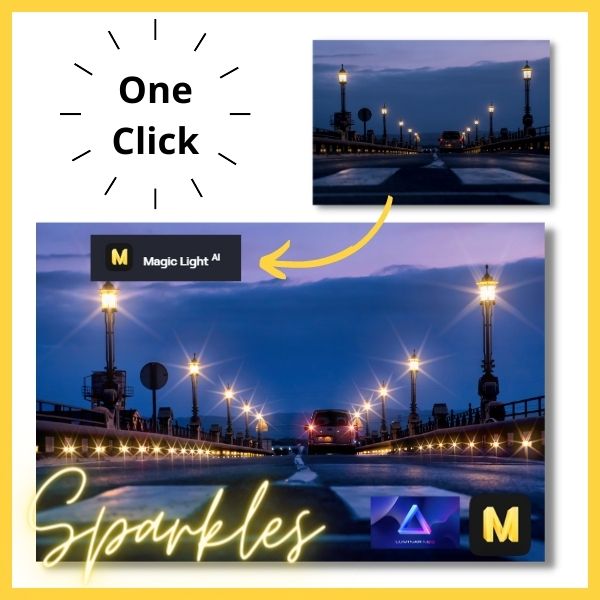
One click edits
Edit your photographs in no time with excellent resuts. Presets, AI adjustments to transform your photos from great to WOW!
Change Background
Use the powerful background removal AI system to erase the background and replace it wtih one of your liking.


[…] Neo is packed with features like AI sky replacement, AI skin enhancer, and AI structure. These tools can significantly speed up your editing process and enhance your […]