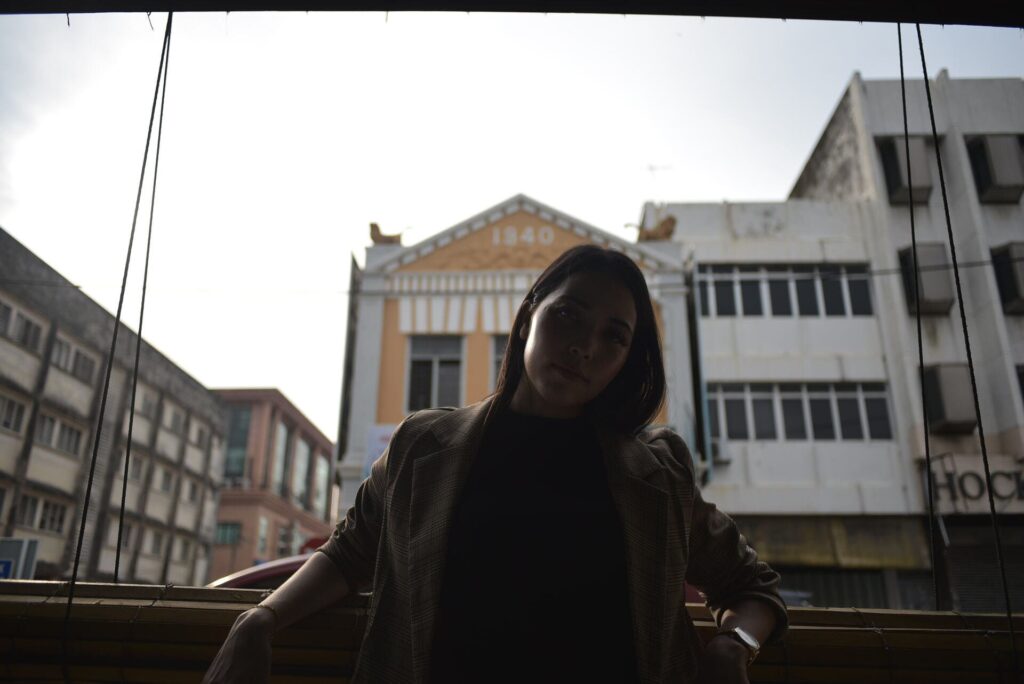
Have you ever taken a photograph, only to realize later that it was underexposed? It can be frustrating to have captured a moment that you can’t relive and not be able to share it with others.
However, with the right editing tools and techniques, you can probably rescue your underexposed photos and turn them into stunning works of art. In this blog post, we will go over an easy-to-follow workflow using Luminar Neo to recover underexposed photos..
Photo: Signature Edits | Sun Flare Package: Sun Flares
I will be using Skylum’s Luminar AI, an innovative photo editing software that uses artificial intelligence to enhance your photos.
Let us dive in and explore the retouching workflow.
Camera Profile and White Balance
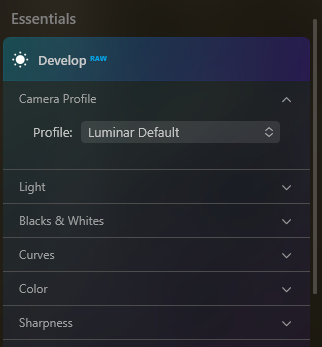
The first step in rescuing an underexposed photo is to select the appropriate camera profile and white balance. In Luminar Neo, I used the Portrait profile and the Shade white balance preset.
This combination helps to bring out the natural skin tones and colors of the subject, making the photo look more lifelike.
Additionally, if you have multiple photos from the same shoot that require similar adjustments, you can sync the camera profile and white balance across the photos to save time.
Once you have selected the camera profile and white balance, you can move on to the next step of the workflow.
Relight AI and Face AI
The second step in rescuing an underexposed photo is to apply Relight AI to bring back light on the subject. Relight AI is a powerful tool that enhances the lighting in the photograph without making it look overprocessed or unnatural.
After applying Relight AI, you can then use Face AI to add Face Light. This tool helps to brighten up the face of the subject, making their features more visible and adding depth to the photo.
By using Relight AI and Face AI, you can quickly and easily improve the overall lighting in the photo, making it look more vibrant and alive.
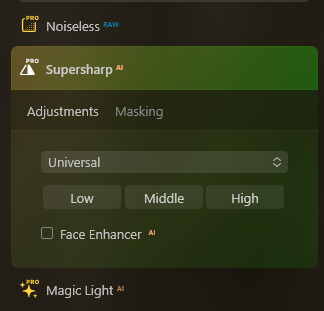
Skin AI and Supersharp AI
The next step in rescuing an underexposed photo is to apply Skin AI to soften the face skin and remove blemishes. This tool is especially useful for portrait photography, as it can help to make the subject look more polished and presentable.
After applying Skin AI, I then used Supersharp AI to bring back details in the photo. This tool helps to sharpen the edges of objects and bring out finer details, making the photo look more crisp and clear.
By using Skin AI and Supersharp AI, you can make subtle but significant improvements to the photo, giving it a professional and polished look.
Mood Tool, SmartContrast AI, and Sky AI
After applying the initial adjustments, I then moved on to the more creative aspects of the workflow. The first tool I used is the Mood tool, specifically the Anaheim preset. This preset adds drama to the photo, making it more visually appealing and engaging.
Next, I applied SmartContrast AI to enhance contrast selectively. This tool helps to bring out the darker and lighter areas of the photo, making it look more dynamic and interesting.
Finally, I used Sky AI to add a dramatic sky and adjust scene relighting. This tool is especially useful for any type of photography, as it can help to make the sky look more vibrant and colorful.
By using the Mood tool, SmartContrast AI, and Sky AI, you can add a unique and personal touch to the photo, making it stand out and capture the viewer’s attention.
Dramatic Tool and Vignette
The final step in rescuing this underexposed photo is to apply the Dramatic tool to create a subtle grunge style. This tool helps to add texture and depth to the photo, making it look more interesting and visually engaging.
Finally, you can add a vignette to draw attention to the subject. A vignette is a darkening effect around the edges of the photo, which helps to focus the viewer’s attention on the subject.
By using the Dramatic tool and adding a vignette, you can add the finishing touches to the photo, making it look polished and complete.
Final comments
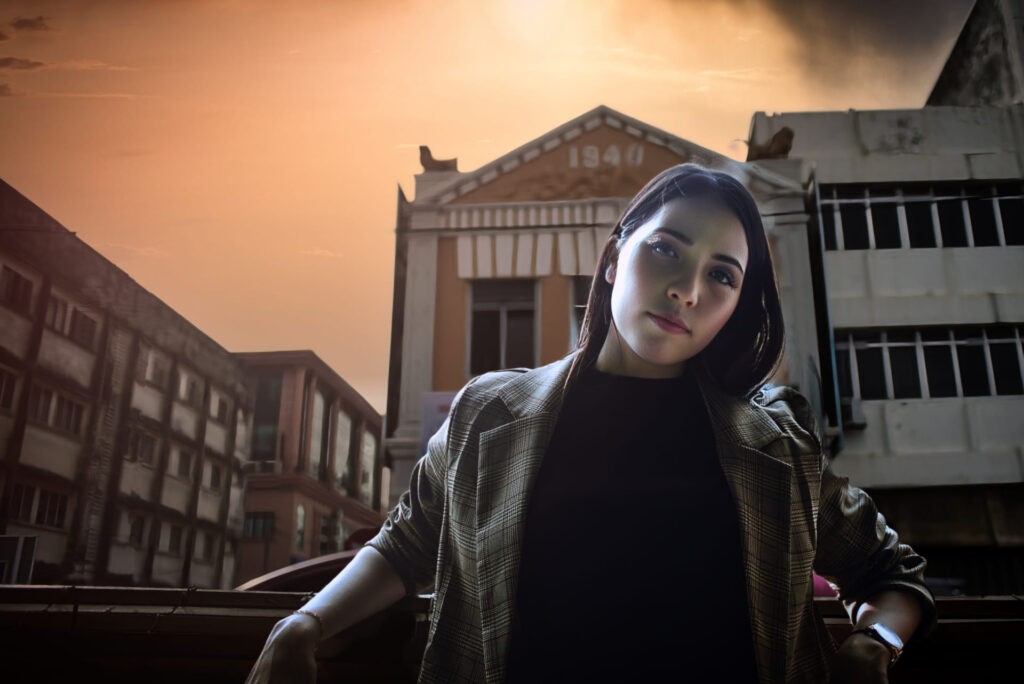
Rescuing an underexposed photo can seem like a daunting task, but with the right editing tools and techniques, it can be a simple and enjoyable process. By following this workflow in Luminar Neo, you can quickly and easily turn your underexposed photos into stunning works of art.
Remember to select the appropriate camera profile and white balance, use Relight AI and Face AI to enhance lighting, apply Skin AI and Supersharp AI for finer details, use the Mood tool, SmartContrast AI, and Sky AI for creative adjustments, and finally, add the Dramatic tool and a vignette for a finishing touch.
With these tools and techniques at your disposal, you can transform your underexposed photos into beautiful and captivating works of art.
Check it out!
One click edits
Edit your photographs in no time with excellent resuts. Presets, AI adjustments to transform your photos from great to WOW!
Change Background
Use the powerful background removal AI system to erase the background and replace it wtih one of your liking.