Unleashing the Power of Luminar Neo’s AI Tools
We’ve all experienced the frustration of capturing an overexposed picture, where the details are lost, and the image lacks the desired impact. But fear not! Luminar Neo, with its state-of-the-art AI tools, comes to the rescue.
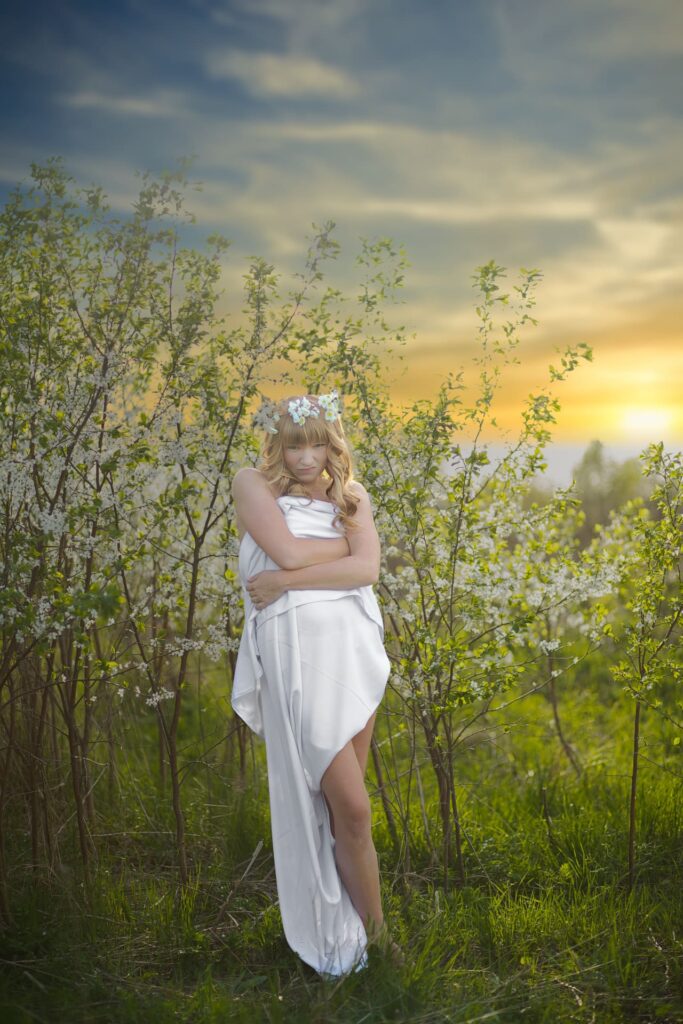
In this blog post, I’ll walk you through my workflow using Luminar Neo to recover an overexposed picture and transform it into a stunning masterpiece..
Photo: Signature Edits | Sun Flare Package: Sun Flares
I will be using Skylum’s Luminar Neo, an innovative photo editing software that uses artificial intelligence to edit your photos.
Let us dive in and explore the retouching workflow.
Step 1: Develop Module
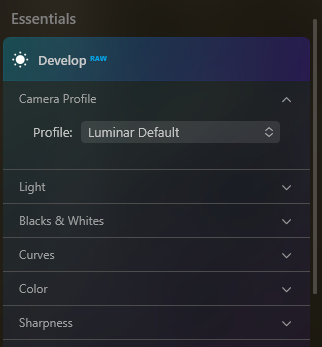
In the Develop module of Luminar Neo, I started by selecting the standard camera profile to ensure accurate color representation.
Then, using the custom white balance feature, I sampled a portion of the dress using the eye drop tool, resulting in a more balanced and natural color tone.
To recover the lost contrast, I added the AI-powered Smart Contrast tool, which intelligently adjusted the contrast to bring out the details.
Step 2: Exposure Adjustment
Next, I reduced the exposure to darken the picture and regain the highlights that were blown out. Luminar Neo’s intuitive exposure adjustment tools made it easy to fine-tune the exposure and restore the desired balance.
Step 3: Sky AI Tool
Since the sky in the picture was completely blown out, I utilized Luminar Neo’s Sky AI tool to add a new sky element and change the mood of the image.
With a vast library of stunning free sky options to choose from, I selected the perfect sky that complemented the subject and transformed the overall look and feel.
Step 4: Vignette
To draw attention to the subject and add a touch of creativity, I added a vignette using Luminar Neo’s versatile vignette tool.
The vignette framed the subject beautifully, enhancing the visual impact and directing the viewer’s attention to the key elements of the picture.
Step 5: Dodge and Burn
Using the Dodge and Burn tools, I further enhanced the features of the model, including the face, hair, and dress.
This technique allowed me to selectively lighten or darken specific areas, creating depth and dimension, and bringing out the intricate details.
Step 6: SuperContrast AI
To fine-tune the contrast in the highlights and midtones, I applied Luminar Neo’s SuperContrast AI.
This powerful tool allowed me to selectively affect the contrast, giving the image a more balanced and captivating look.
Step 7: SuperSharp AI
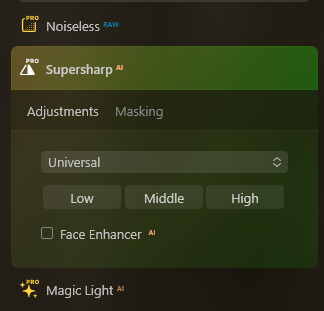
To add the finishing touches, I applied the SuperSharp AI tool to let Luminar Neo’s AI scan the image and apply sharpening where needed, enhancing the overall clarity.
Additionally, I enabled the Face Enhancer AI feature to correct any blemishes and enhance the model’s facial features, resulting in a polished and professional look.
Final comments and recommendations
Thanks to Luminar Neo’s remarkable AI tools, I successfully recovered an overexposed picture and transformed it into a stunning masterpiece.
If you’re tired of struggling with overexposure and want to unlock the full potential of your images, I highly recommend giving Luminar Neo a try.
To take advantage of the latest offers from Luminar Neo, click the link or banner in this post.
Don’t forget to follow me on social media for more photography tips, tutorials, and inspiration. Let’s embark on this exciting journey of creative editing together!