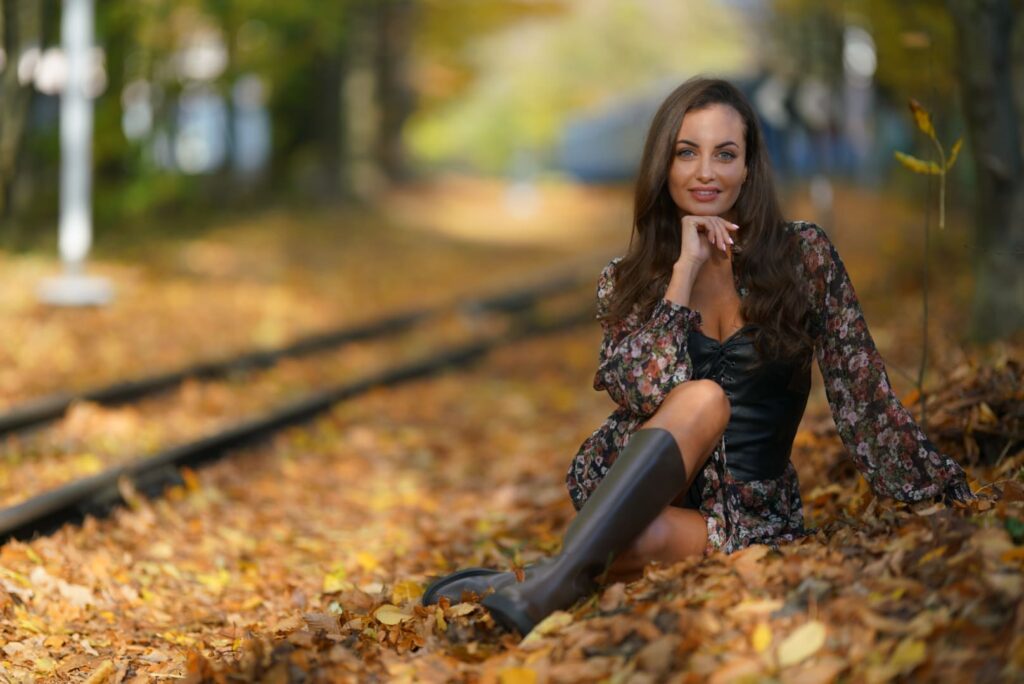
When it comes to outdoor portrait photography, there are several challenges that photographers need to overcome. From harsh lighting to unpredictable weather, there are many factors that can affect the final result.
However, with the help of Luminar Neo, you can enhance your outdoor portraits and make them truly stand out. In this tutorial, I will show you how to use various features of Luminar Neo to enhance your outdoor portraits and create stunning images.
Before we begin, it’s worth noting that this tutorial assumes that you have some prior knowledge of Luminar Neo. If you’re new to the software, I recommend checking out some basic tutorials first to get familiar with the interface and tools here: Luminar Neo AI Editing Software Review
Now, let’s dive into the different steps I took to enhance this outdoor portrait using Luminar Neo.
Choosing the Right camera profile
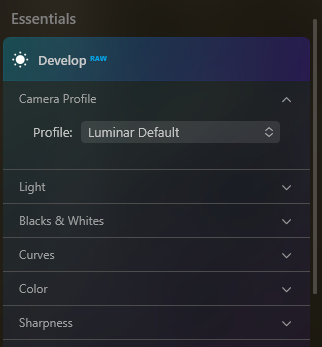
When starting with any photo, it’s essential to choose the right camera profile. This will ensure that the colors and tones in your image are accurate and true to life. Luminar Neo offers a range of camera profiles that you can choose from, including ones that are specific to your camera model.
For outdoor portraits, I recommend choosing a camera profile that has a warm and natural look. This will help to enhance the skin tones of your subjects and create a pleasing overall effect. Once you’ve chosen your camera profile, you can further fine-tune the colors and tones using the tools in Luminar Neo.
One important aspect to remember is that camera profiles only work with RAW files.
To further enhance the colors and tones in your image, you can use the Color Harmony tool or the Develop Tool in Luminar Neo. This tool allows you to adjust the color saturation, contrast, and brightness of different regions in your image, helping to create a more balanced and harmonious look.
Sharpening and Fine-Tuning Details
In my opinion when it comes to outdoor portraits, details matter. Whether it’s the texture of someone’s skin or the fine details in their hair, these elements can make or break a portrait. Thankfully, Luminar Neo has several tools that can help you fine-tune the details in your images.
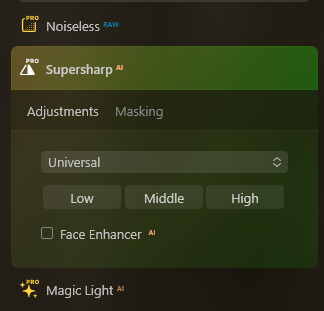
One tool that I find particularly useful is the Details Enhancer and the Supersharp AI tool. This tools allows you to selectively sharpen different areas in your image, helping to bring out details and textures. You can also adjust the amount of sharpening and the radius of the sharpening effect, giving you full control over the final result.
In addition to sharpening, you can also use the AI Structure tool to enhance the details in your image. This tool uses artificial intelligence to analyze your image and apply the appropriate amount of structure and detail to different areas. This can help to bring out fine details in your subject’s face and clothing, making your portrait more visually engaging.
For this portrait I used the Supersharp AI tool because I wanted to recover some details on the models face that look a little soft or blurred.
Adjusting Exposure and Contrast
Exposure and contrast are two key elements that can greatly affect the look and feel of your outdoor portraits.
Getting the exposure right is particularly important, as overexposed, or underexposed images can be difficult to correct in post-processing.
Thankfully, Luminar Neo has several tools that can help you adjust the exposure and contrast in your images with ease.
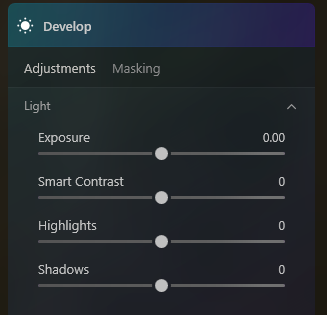
The Exposure slider that is part of the Develop Tool in the Light section in Luminar Neo, allows you to adjust the overall brightness of your image, while the Smart Contrast slider can be used to increase or decrease the contrast between different tones.
You can also use the Shadows and Highlights sliders to fine-tune the exposure and contrast in specific areas of your image, such as the shadows under someone’s eyes or the highlights on their forehead.
❗When adjusting the exposure and contrast in your image, it’s important to keep in mind the overall mood and tone you’re trying to create.
For example, if you’re going for a bright and airy look, you may want to increase the exposure and decrease the contrast. On the other hand, if you’re going for a moody and dramatic look, you may want to decrease the exposure and increase the contrast.
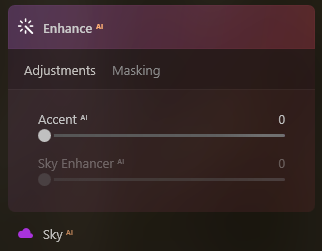
In this portrait I used a tool that is not really intended to be a contrast adjustment slider, but in my opinion it selectively enhances areas of the photograph.
By the use of AI for some reason it also adjusts highlights and shadows that contribute to contrast, I think you guessed it right? It is the Enhance AI tool.
Using Color Grading to Create Mood
Color grading is a powerful tool that can help you create a specific mood or atmosphere in your outdoor portraits. With Luminar Neo, you have several options for color grading, including the Color Balance and Color Grading tools.
The Color Balance tool allows you to adjust the color balance of your image, helping to create a more natural and pleasing look. Meanwhile, the Color Grading tool lets you apply a specific color grade to your image, giving it a unique and distinct look.
When choosing a color grade for your outdoor portrait, it’s important to keep in mind the overall mood and feeling you’re trying to convey.
For example, a warm and golden color grade can create a romantic and dreamy look, while a cool and desaturated color grade can create a more moody and dramatic effect.
Enhancing face with Face AI tool
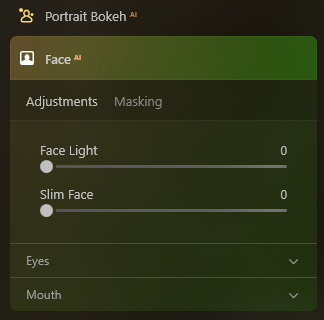
When it comes to portrait photography, the face is often the most important element. Luminar Neo’s Face AI tool can help you enhance your subject’s face and create a more flattering and natural look.
The Face AI tool uses artificial intelligence to analyze your subject’s face and apply various adjustments, eye enhancement, mouth enhancement and teeth whitening.
You can also use the Face Light tool to adjust the lighting on your subject’s face, helping to create a more sculpted and three-dimensional look.
When using the Face AI tool, it’s important to use it in moderation. Overusing the tool can result in an unnatural and over-processed look. Instead, use the tool to subtly enhance your subject’s face and create a more natural and flattering result.
Enhancing Skin Tone and Texture with Skin AI tool
The Skin AI tool in Luminar Neo is specifically designed to enhance the skin tone and texture in your outdoor portraits. This tool uses artificial intelligence to analyze your subject’s skin and apply various
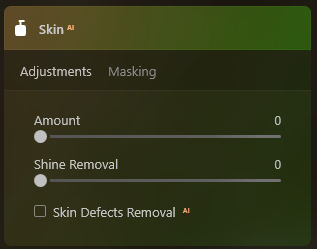
adjustments, such as skin smoothing, blemish removal, and color correction.
When using the Skin AI tool, it’s important to start with a light touch and gradually build up the effect. You can use the Amount slider to control the intensity of the effect, and the Masking Brush to selectively apply the effect to specific areas of your subject’s skin.
Overall, the Skin AI tool can be a powerful tool for enhancing the skin tone and texture in your outdoor portraits, helping to create a more polished and professional result.
Enhance face details with Dodge & Burn
Dodge & Burn is a classic technique in portrait photography that involves selectively brightening or darkening specific areas of your image. In Luminar Neo, you can use the Dodge & Burn tool to enhance the details in your subject’s face, such as their eyes, nose, and mouth.
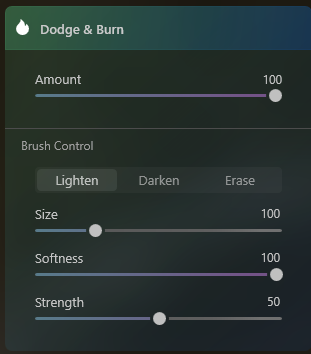
To use the Dodge & Burn tool, simply select the tool and choose whether you want to brighten or darken specific areas of your image.
You can then use the Brush Size and Strength sliders to control the size and intensity of the effect.
When using the Dodge & Burn tool, it’s important to use it in moderation.
Overusing the tool can result in an unnatural and over-processed look. Instead, use the tool to subtly enhance the details in your subject’s face and create a more natural and flattering result.
Conclusion
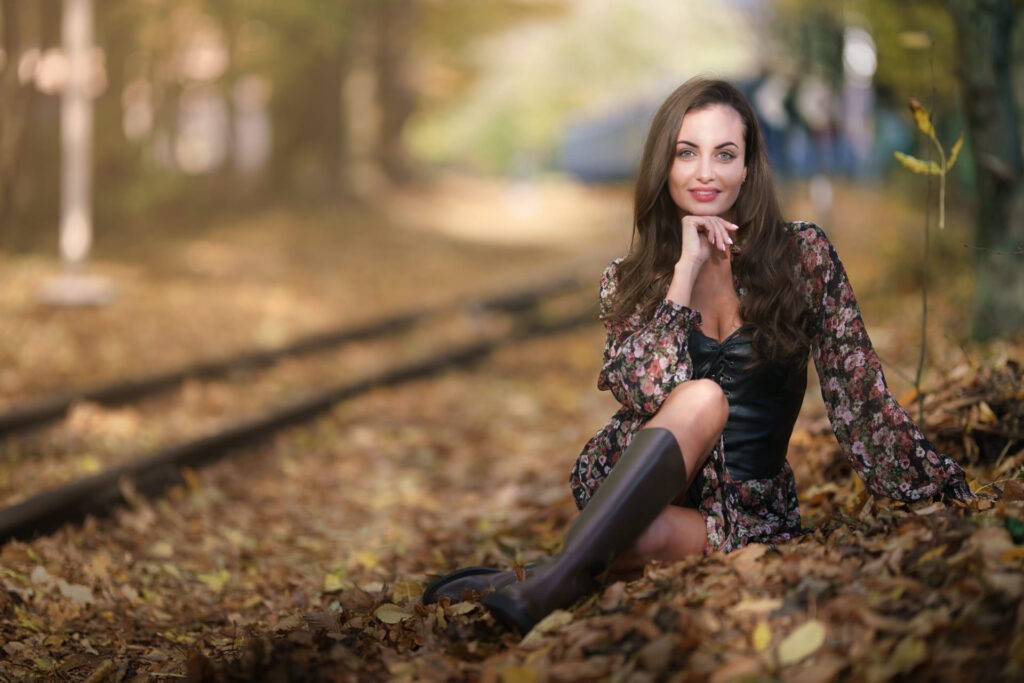
Enhancing your outdoor portraits with Luminar Neo can be a fun and rewarding process. Whether you’re trying to create a bright and airy look or a moody and dramatic effect, Luminar Neo has the tools you need to bring your vision to life.
By following the steps outlined in this tutorial, you can enhance your outdoor portraits and create stunning images that truly stand out.
Remember to keep in mind the overall mood and feeling you’re trying to convey and use the tools in Luminar Neo in moderation to create a natural and flattering result.
With practice and experimentation, you’ll be able to create outdoor portraits that capture the beauty and essence of your subjects, and that you’ll be proud to share with the world.