Hello my Photonauts and welcome!
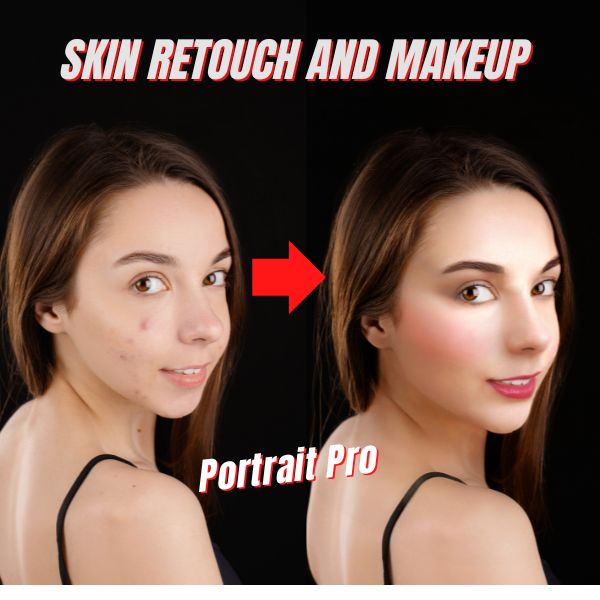
In this video, I show you how to get perfect portrait retouching and makeup results in just a few clicks. You will learn how to use all the tools in our retouching and makeup software and apply them on a dark skin model.
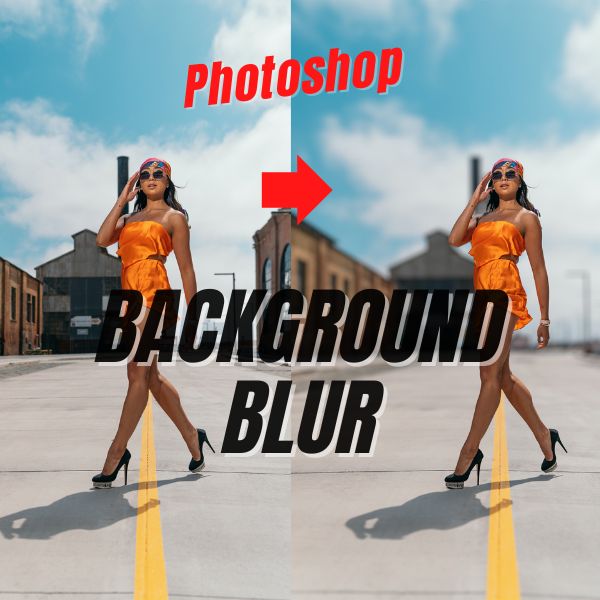
I will be using Photoshop and Portrait Pro as a plugin in Photoshop because of the complexity level of retouching required. Most of the time I will use only one retouching editing software, but sometimes I need to combine one or more to accomplish the result faster.
As I said in the video many could say that everything could be accomplished in Photoshop alone without the need of a plugin or an external software. But in my case speed is important and even though you can achieve excellent results in PS, if I can get a hold of AI to help I will do it!
I started using Portrait Pro in 2017 as a solution to speed up my skin retouching workflow. This software is based on AI systems to retouch skin with natural results, it will also let you refine the shape of the face, eyes, chin, neck, etc.
If you want to check the software go to: Anthropics
Dark skin retouching workflow
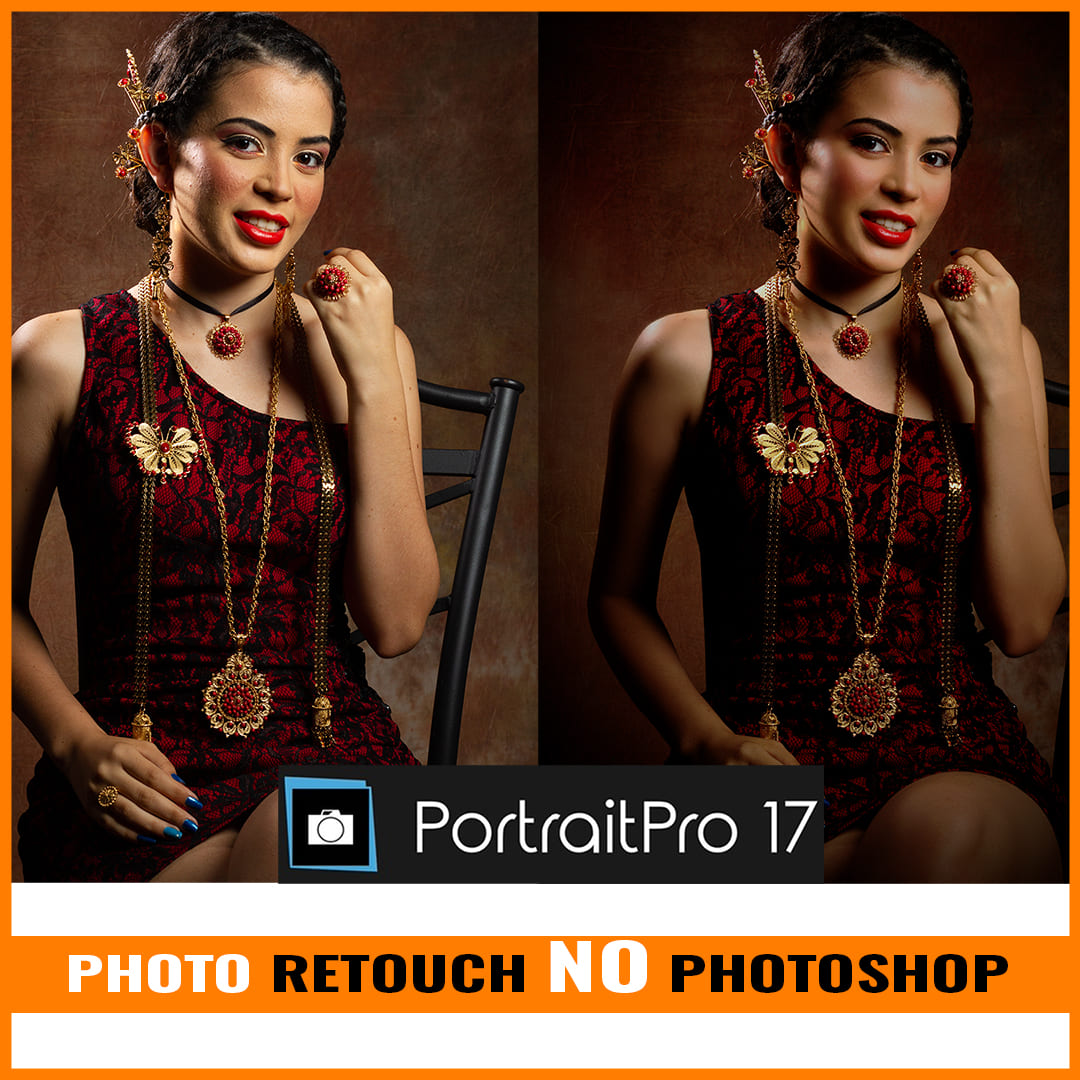
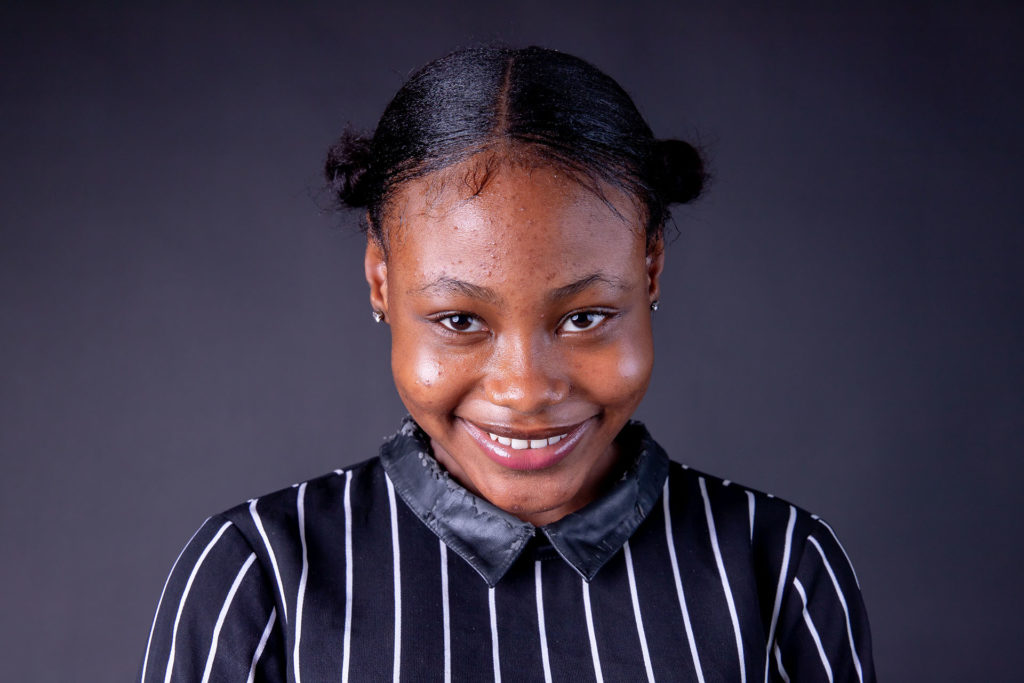
The photograph I chose to edit is a challenge. The light setup used reflected specular highlights, skin shine, and accentuated blemishes and other details that could be fixed/corrected.
The reason I didn’t use Portrait Pro alone is because of the hairline and the styling gel remaining on her forehead. If I used PP alone it would not recognize that as hair and it would fix it like it was skin and keep the tone.
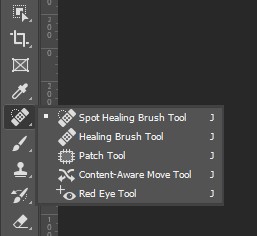
So, here is where Photoshop features come handy not only to remove what is not needed but to clone surrounding areas to match the color and light pattern to then let Portrait Pro do the skin smoothing and apply texture.
Regardless of the skin color, Portrait Pro will keep the skin color and tone intact. That is one of the features of the software I like the most, it will not change or alter the color unless you do it manually.
The steps performed to retouch this portrait are the following:
In Photoshop:
In Portrait Pro:
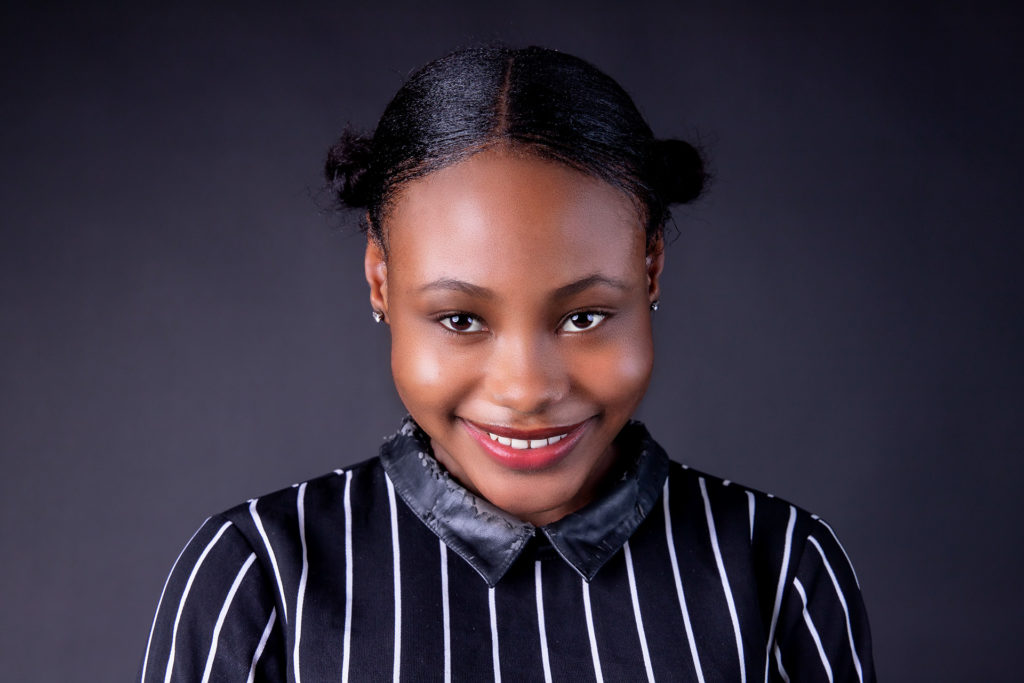
Image comparisons
As you can see I totally removed blemishes and corrected specular highlights and skin shine in just a few clicks. If you want to download the image to practice go to: Pexels.com
I hope you like the tutorial and that you learned something. If you have any questions or comments leave`em in the comments box below.
Blessings,
José