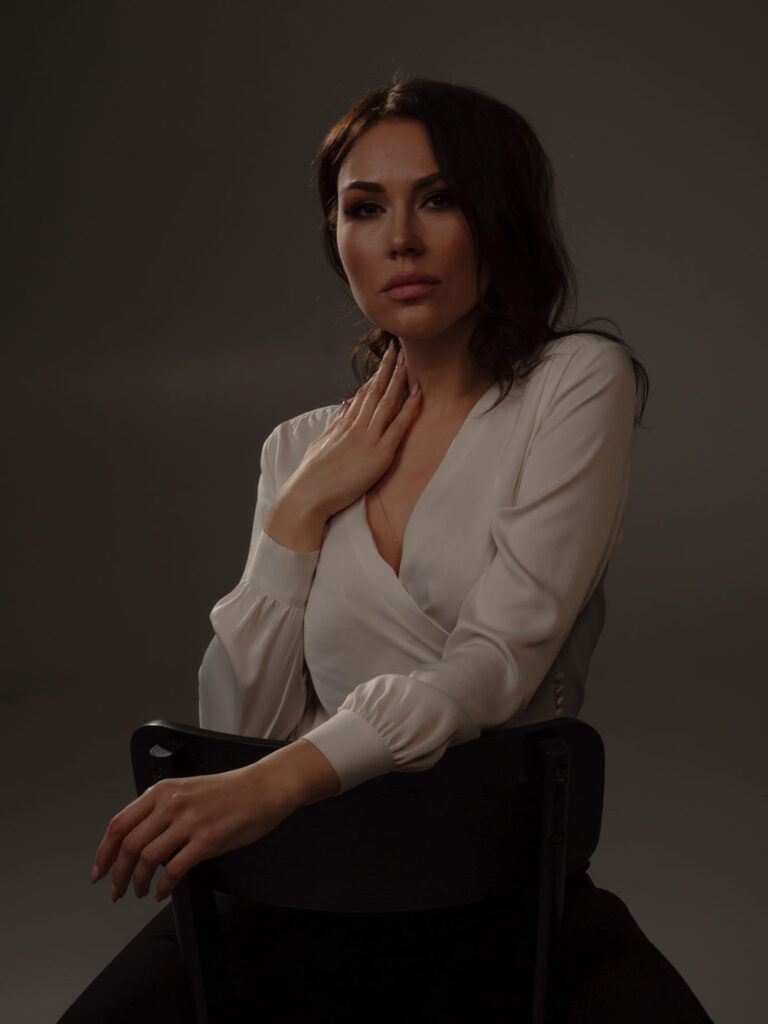
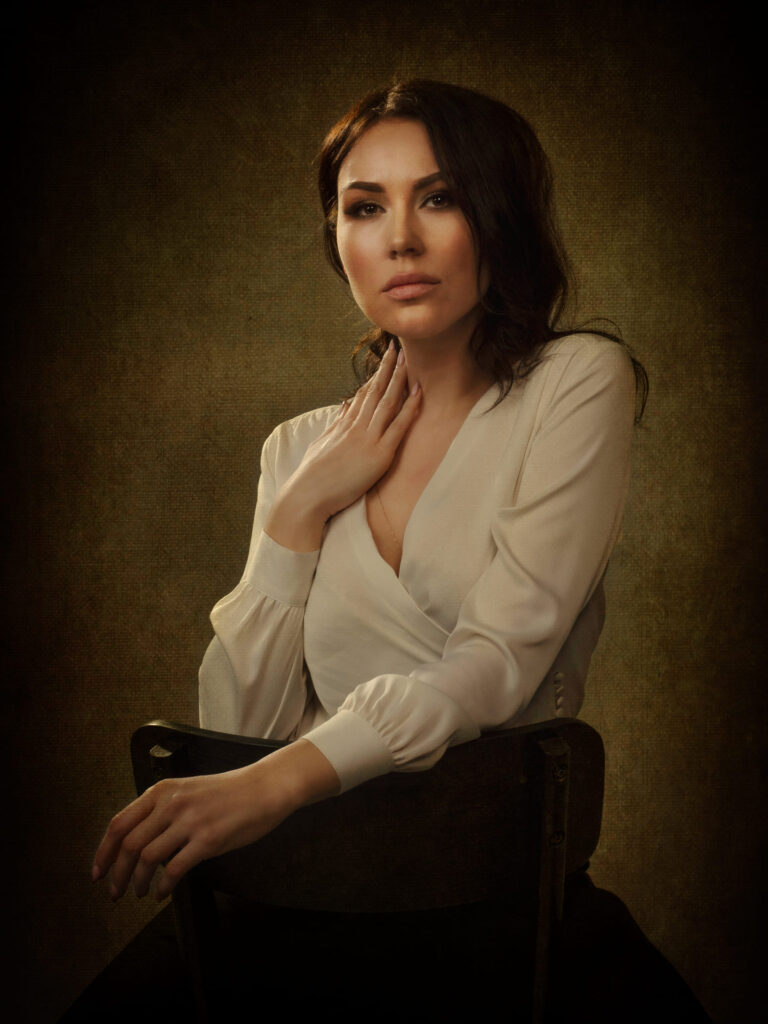
In this tutorial I’ll show you how to transform a portrait into something low-key, moody and artistic using the latest tools in Luminar Neo.
Download practice photo: https://www.signatureedits.com/free-raw-photos/
What is an Old Masters style
This is style has been used by many photographers dedicated to what´s called “Fine Art Photography.
It basically consists in creating the look, style, lighting, and wardrobe that were use by the Old Masters painters to create portraits. These masters were skilled artists(painters) who worked in Europe before the 1800´s
There are certain details to consider before attempting to create an old master’s portrait as retouching is one part of the entire process. By searching the internet for Old Masters, you will see that most of the portraits shown have the following characteristics:
Editing workflow in Luminar Neo
One thing I like about Luminar Neo, is that it makes it easy to accomplish certain tasks that usually will take several steps in other photo editing software. The workflow I used to edit this portrait is the following:
- Develop: Used this adjustment tool to increase the exposure and to shift the color toward the warm tone with a touch of green tint.
- Enhance AI: Used AI based photo enhancer to correct the entire portrait overall lighting.
- Skin AI: Used AI based skin softening and blemishes removal.
- Face AI: This tool has a lot features, but for this portrait I used face light and eye tools to brighten the face and make the eyes pop out a bit.
- Dodge and burn: Used this tool to relight and enhance the face features of the model.
- Vignette: Added a strong vignette as a component of low key.
- Texture overlay: Created a layer on top of the portrait with a canvas texture and centered focus painted vignette.
Even though some of the adjustments might look exaggerated, I did it like that because I knew that the overlay layer will darken and soften the light due to the “soft light” layer blending mode.
Below you could see the before and after:


If you want to check the current price, click here: ¡Luminar Neo BEST OFFER!
Until the next straight to the point tutorial!
Blessings,
José
Check it out!
One click edits
Edit your photographs in no time with excellent resuts. Presets, AI adjustments to transform your photos from great to WOW!
Change Background
Use the powerful background removal AI system to erase the background and replace it wtih one of your liking.


