In this video, I’m going to show you how to use Luminar Neo’s new advanced retouching and creative tools to turn you into a Hollywood superstar. See how easy it is to remove blemishes and wrinkles, whiten teeth, and make your skin look clean and soft.
Download practice photo: https://www.signatureedits.com/free-raw-photos/
What is Dodge and Burn?
“Dodge and Burn” is a technique that was used during the printing process of a photograph in the old days’ darkroom negative development. It basically consisted in dodging(lightening) and burning(darkening) specific areas of the photograph.
In other words, photographers used different types of translucent materials in various densities during the development process to lighten or darken areas of the photo to manipulate exposure. The result of this will be “controlled” toning to accentuate portions of the print to draw attention to them.
Modern digital photo editors include these in their toolboxes to imitate this technique. These tools are also known as Dodge and Burn in softwares like Photoshop, Corel and Luminar Neo.
Despite of having these tools available, there are other ways to accomplish the same effect using layers and brush tools. But I do want to mention that Luminar Neo makes it easy because of the AI Powered Dodge and Burn Tool.
Why using Luminar Neo Dodge and Burn?
As I mentioned above, the dodge and burn tool will mimic the film development process in digital photo editors, but most of the times this is “destructive” editing because you can easily over or under expose the area in which the only way to fix it will be to start all over again.
Luminar Neo´s dodge and burn work a little different.
If you are not familiar with Luminar Neo, let me tell you that LN stacks edit tools like layers, every time you use a tool it will be stacked or layered in the edit menu. This allows you to go back if fine tunning is needed or deletion without affecting other tools used.
Apart from the “edit tool stacking” you have at your dispose the power of AI(Artificial Intelligence) systems that are well trained to help you accomplish excellent results faster and accurately.
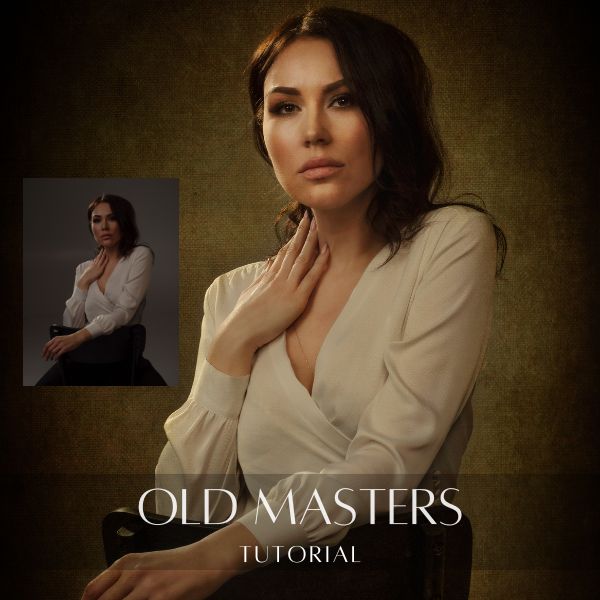
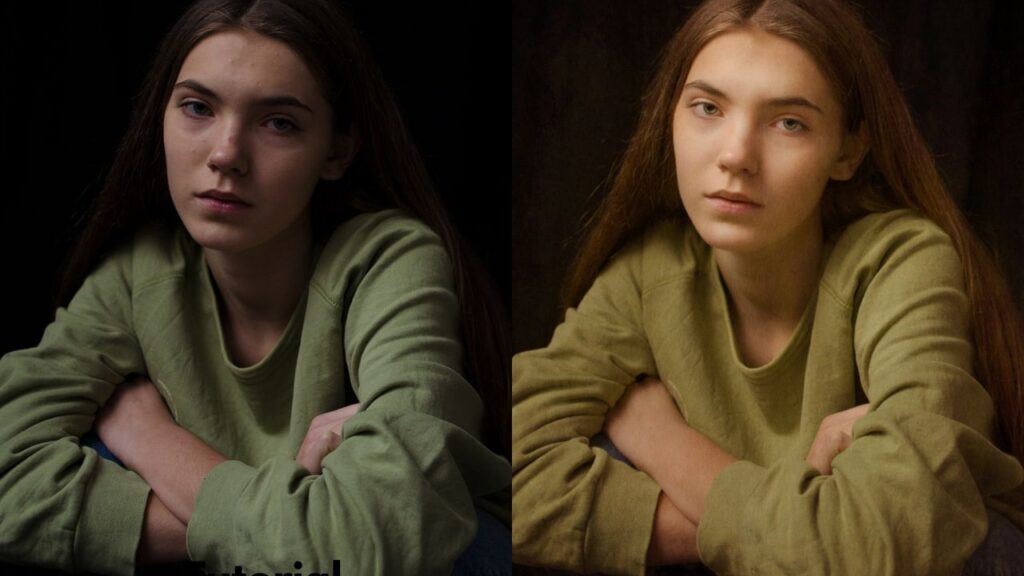
Dodge and Burn is not the exception, as you can see in the video, I used D&B to enhance features of the face of the model by just moving a few sliders. I didn’t need to create special layers and if I needed to start again, I just had to go back to the edits menu and reset it.
As in ol´days darkroom development, I used dodge and burn as a method to “enhance and highlight” areas of the photograph to accentuate and improve contrast, specially in the face of the subject. The result was the combination of dodge and burn with other tools.
Editing workflow in Luminar Neo
One thing I like about Luminar Neo, is that it makes it easy to accomplish certain tasks that usually will take several steps in other photo editing software. The workflow I used to edit this portrait is the following:
My Luminar Neo favorite tools
The main reason I am using Luminar Neo more an more in my edits is because of the AI based tools.
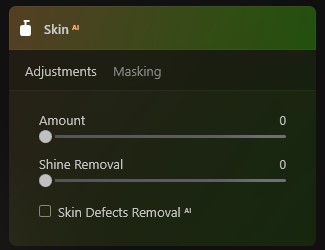
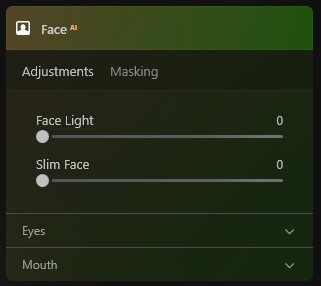
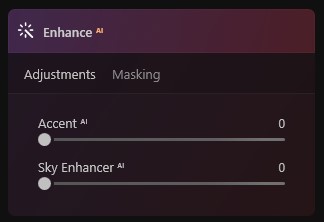
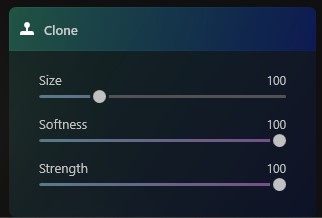
Even though some of the adjustments might look exaggerated, I did it like that because I knew that the overlay layer will darken and soften the light due to the “soft light” layer blending mode.
Below you could see the before and after:
If you want to check the current price, click here: ¡Luminar Neo BEST OFFER!
Until the next straight to the point tutorial!
Blessings,
José
Check it out!
One click edits
Edit your photographs in no time with excellent resuts. Presets, AI adjustments to transform your photos from great to WOW!
Change Background
Use the powerful background removal AI system to erase the background and replace it wtih one of your liking.

