Welcome to straight to the point tutorials!
In this post I will show you three simple methods to blur a background in Photoshop.


I am using a picture that has almost everything in focus and we need to keep an eye in the focal point so our defocusing looks natural and realistic.
If you want to download the photo practice check it here: Sakie Bustos
Before moving to the first method, I will appreciate if you could subscribe to the channel and at end if you like the video, click the thumb up and the to get a notification every time I upload new content.
Now straight to the point…
Method 1: Using layer masks only
This method consists in creating two background layers after creating a selection around the subject. One of these background layers is the one I will apply the blur filter and the other will be used to reveal areas of the background that I need to have in focus.

I think this the method that requires more steps, but maybe at some point you may need to have everything separate.
- Duplicate the layer.
- Select subject (Adobe AI).
- Save selection as “Subject”.
- Change the name of the layer to “Subject”.
- Turn off the “Subject” layer and then select the one below.
- Load the selection.
- Expand selection.
- Fill (Content aware) and correct if necessary.
- Change the name of the layer to “Background”.
- Duplicate the layer and name it “Background blur”.
- Turn on the first layer.
- Load the selection again and apply a mask.
- Select the background blur layer.
- Apply Filter/Bur/Gaussian blur.
- Apply a layer mask to the background blur layer.
- Select the gradient tool.
- Apply gradient to the layer mask as needed.
- Flatten and save photo as needed.
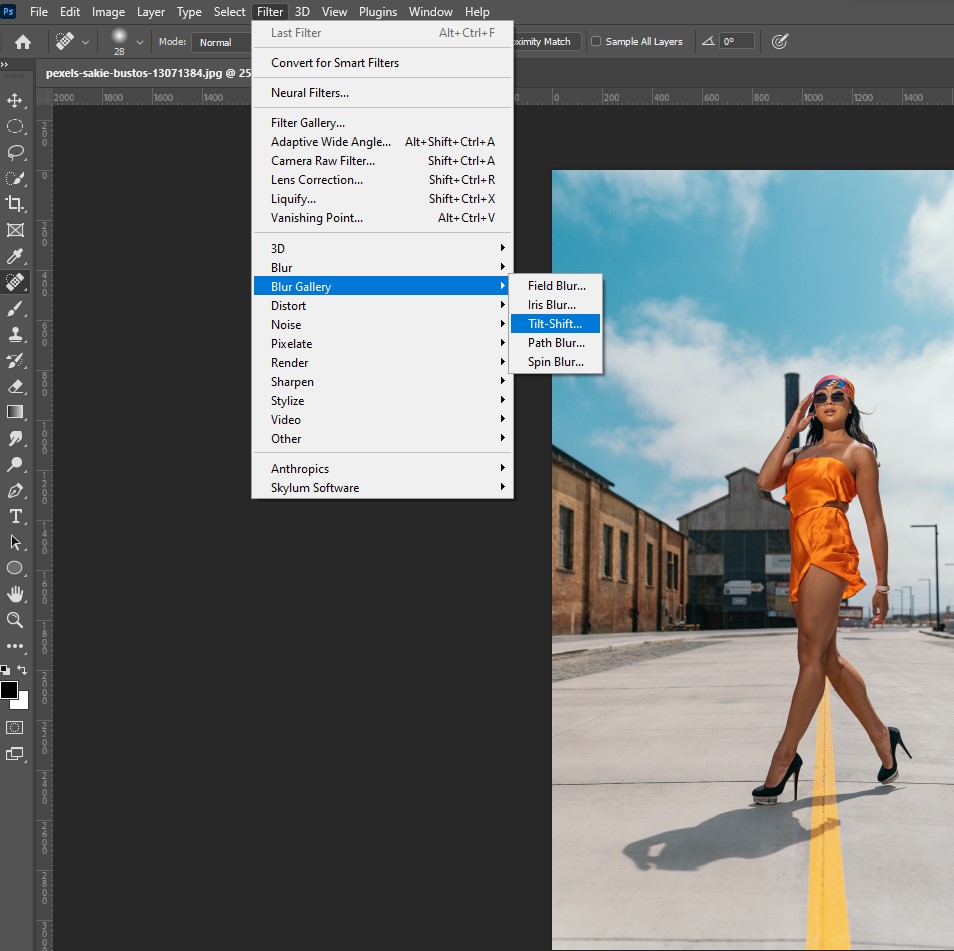
Method 2: Tilt Shift Blur
This method consists in isolating the subject from the background, create separated layers of the subject and background and use the Tilt Shift blur from the Blur Gallery filters.
Follow steps 1 through 9 of the first method and then do the following:
- Select the subject layer.
- Load the “Subject” saved selection.
- Apply a layer mask to the “Subject” layer.
- Select the “background” layer.
- Go to the menu “Filter/Neural Filters/Tilt Shift”.
- Adjust “Tilt Shift” as needed to align to the subject focal point.
- Adjust blur intensity.
- Save.
Method 3: Neural filters
This method consists in isolating the subject from the background, create separated layers of the subject and background and use the “Neural Filters” AI filter.

Follow steps 1 through 9 of the first method and then do the following:
- Select the subject layer.
- Load the “Subject” saved selection.
- Apply a layer mask to the “Subject” layer.
- Select the “background” layer.
- Go to the menu “Filter/Neural Filters/Depth blur”.
- Indicate “Focal point” as needed to align to the subject focal point.
- Adjust Focal Range and Intensity to your liking.
- Click OK.
There you have it, three different ways to blur a portrait background… let me know which one you like the most in the comments box bellow and don’t forget to subscribe to the channel, hit the bell button for not missing any new videos and your I will appreciate your Like to this video.
Until the next STTP Tutorial!
God Bless You,
José