Hi Photonauts! This is a quick tutorial on how to make your photos more vibrant in Lightroom. The best part? It only takes a few steps! I’m going to show you how to use the tools in Lightroom to increase contrast, brightness and saturation.
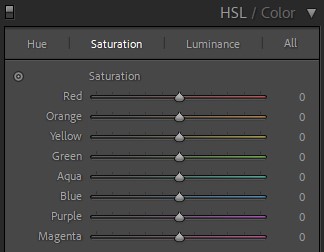
In this video I’ll show you how to make photos in Lightroom more vibrant. I’ll also show you how you can use the HSL selective edit sliders to make your images really pop.
There could be multiple reasons why you would like to adjust a photograph to look more vivid and vibrant. The reality is that in most of the cases it is possible with a few adjustments and it does not require to be a Lightroom ninja to achieve it.
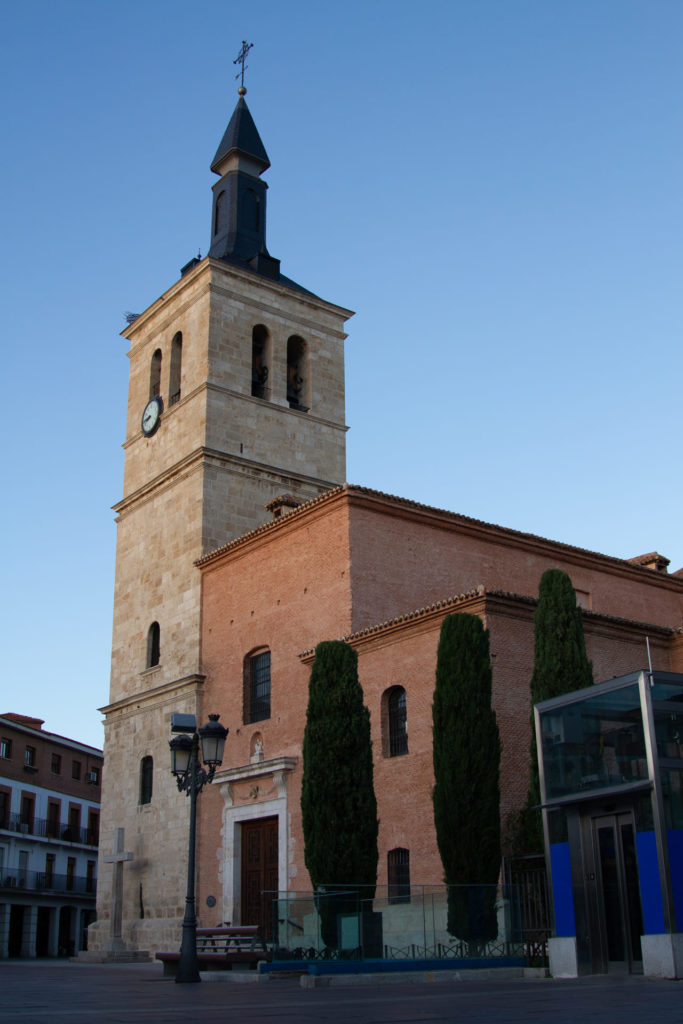
Let’s start by analyzing why you think the photo needs to be more vibrant. It could be that it was shot on a cloudy overcast day, maybe there was a lot of haze, fog or any other environmental effect or just simply it looks “flat”.
The way I see it and despite the term used to describe the lack of vibrance is that the photo is lacking three things. Color saturation, contrast and luminance… Yes, simple as that!
So how do we go about correcting a dull or flat photograph?
If you check the video you´ll see that I have a very basic workflow for editing pictures. Most of the time I will start by adjusting the dynamic range, moving the highlights and shadows sliders, adjusting the white balance to my liking and then apply the creative/enhancement process.
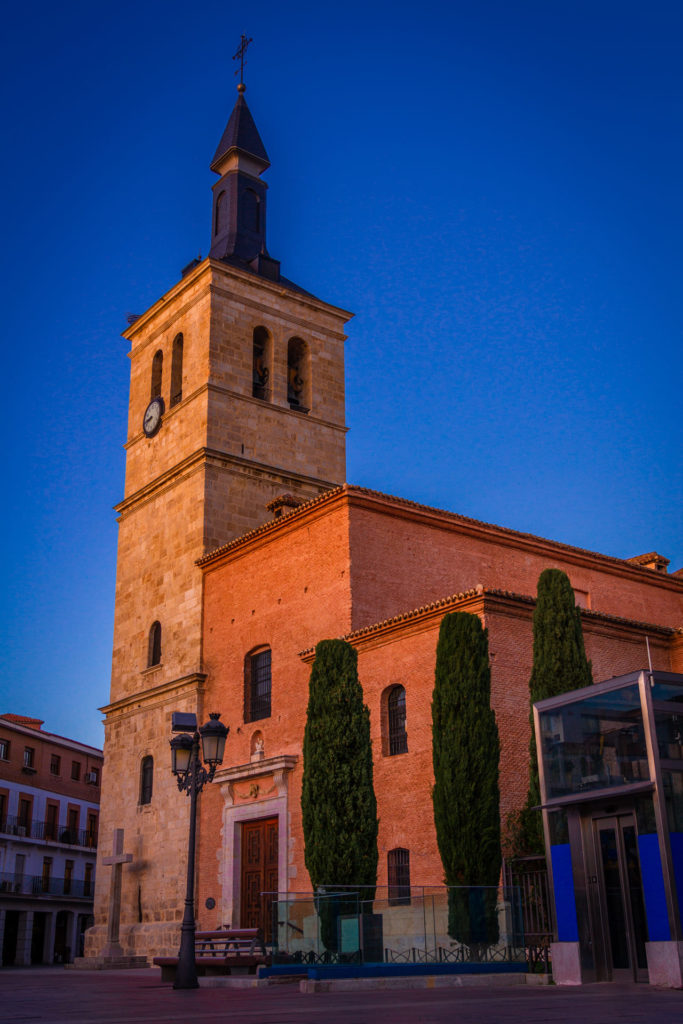
The workflow I used for the photograph of the church is the following:

I don’t need more stuff or preset packs and things of that nature. Don’t get me wrong, I am not saying that presets are a bad thing or are not helpful. In fact I recommend to start using presets and fine tune them to your liking until you develop your own style.
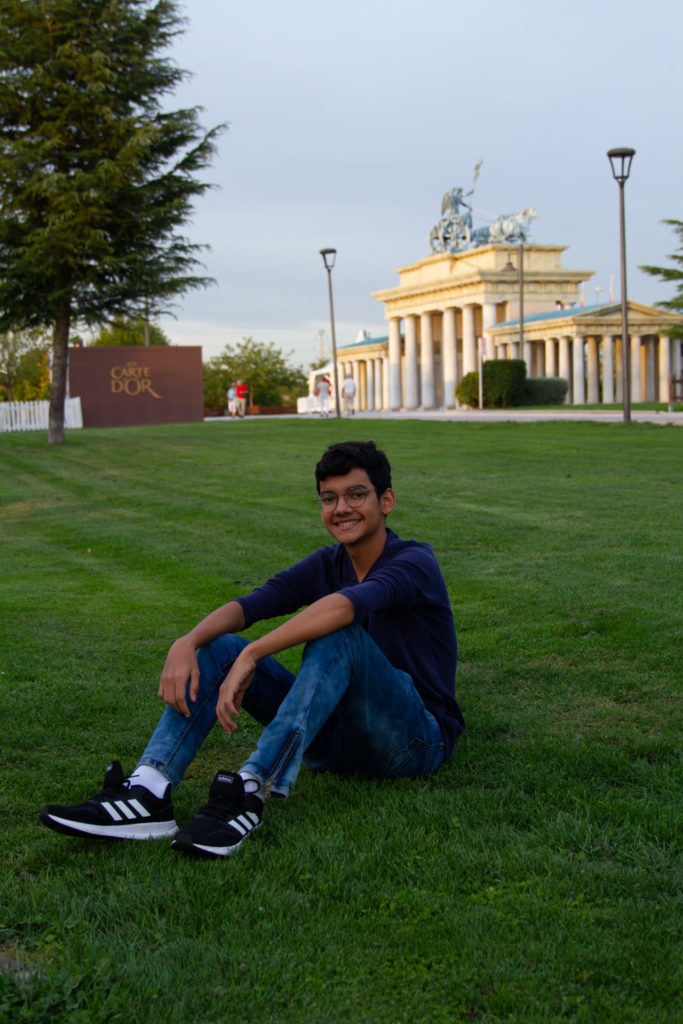
The workflow of the portrait in the park followed the same approach. The only difference was that I used the “select subject” masking AI of Lightroom to isolate the background from the subject and apply the workflow to the background only.
Typically, when the photo is a portrait, I will do the general adjustments focusing on the subject and when I am happy with it I will mask it out and then adjust the background to match the subject color/vibrance style.
Once I am finished with the background retouching I will then do overall adjustments to the photo to enhance or change the mood a bit, maybe add a vignette or do subtle changes to highlight (dodge) some areas.
That is the way I go about making a photo look more vibrant in Lightroom.
If you would like to check how I do the same using a different software check my tutorial using Luminar Neo by clicking here.
Blessings,
Jose
Check it out!
One click edits
Edit your photographs in no time with excellent resuts. Presets, AI adjustments to transform your photos from great to WOW!
Change Background
Use the powerful background removal AI system to erase the background and replace it wtih one of your liking.