Portrait retouching and makeup software – Tutorial

Hello again my photonauts!

In the tutorial you will see how I retouch a portrait photo in PortraitPro, and learn how to add digital makeup to the subject.

I’ve been using Portrait Pro as a skin retouching plugin for photos I edit in Lightroom.  But it can work as a stand alone software as you will see in this video tutorial.

Learn how to make skin appear flawless, and how to correct imperfections in Portrait Pro.

Retouching and digital makeup workflow for this tutorial

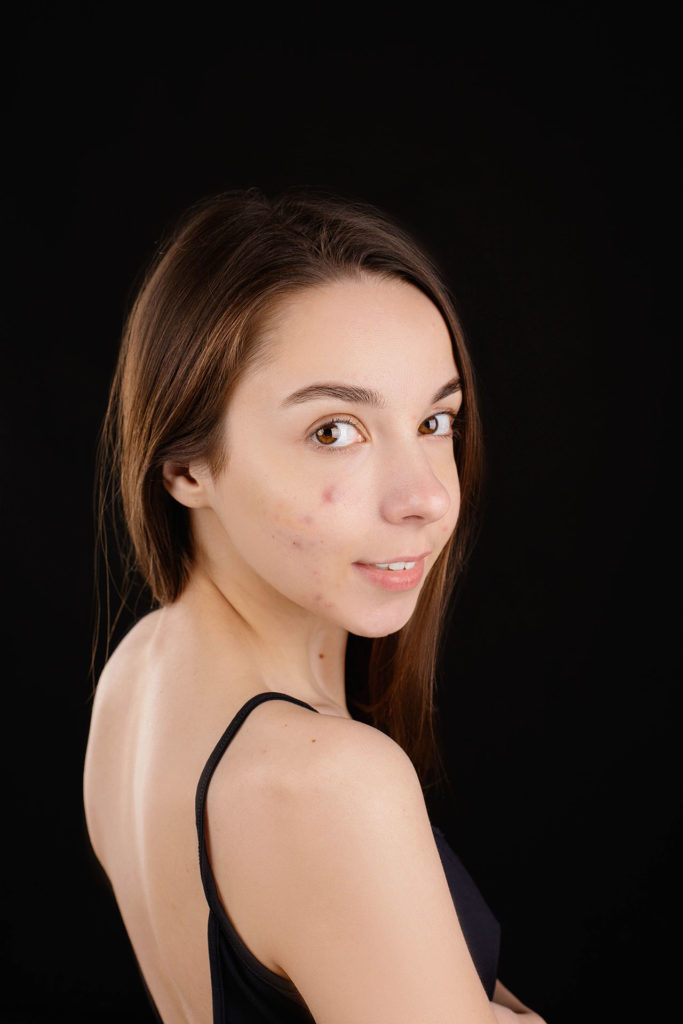
The photograph I used is a headshot portrait in which the subject has no makeup and some blemishes in the skin.  The plan for that picture is to:

  • Retouch skin and sculpt face: To accomplish this, I will start by fine tuning the outline that the software detected automatically and after that I will apply a built-in global preset as a starting point. I will fine tune the preset using the control section.
  • Touch-up blemishes: I will use Portrait Pro Touch-up brush to clear out remaining blemishes manually.
  •  Apply digital makeup: After smoothing and correcting the skin.  I will add  lipstick, eyebrow pencil and blusher.
  • Enhance eyes: I will switch back to the presets module and look for the eye section of it and apply the “eye whiten and sharpener” to make the eyes pop more.

These are the steps and adjustments that I used for this portrait because I thought those were the adjustments it needed in my opinion, but you could experiment to your liking and style.  Remember that not all photos are the same and that you can develop your own style by practicing.

Portrait retouching and digital makeup steps best practices

Here’s what I consider are the best practices and steps to apply when retouching a portrait and adding makeup. You could swap the order or change it, it is up to you.  I just share what have worked for me:

  • Clean skin: Use your editing software to clean up blemishes and erase hair strands over the face and forehead.
  • Soften skin: Using your photo editing software apply skin smoothing techniques or presets to a point that is not overdone or looks unrealistic.
  • Apply makeup: After you have completely retouched the skin it is time to apply/modify digital makeup on specific areas.  Use it with caution.
  • Enhancements: Apply enhancements to sharpen and make the eyes pop more, also sharpen eyebrows, hair and lips
  • Colorize: If you want to change the color of the eyes or hair, this is the time to do it.

Portrait retouching results

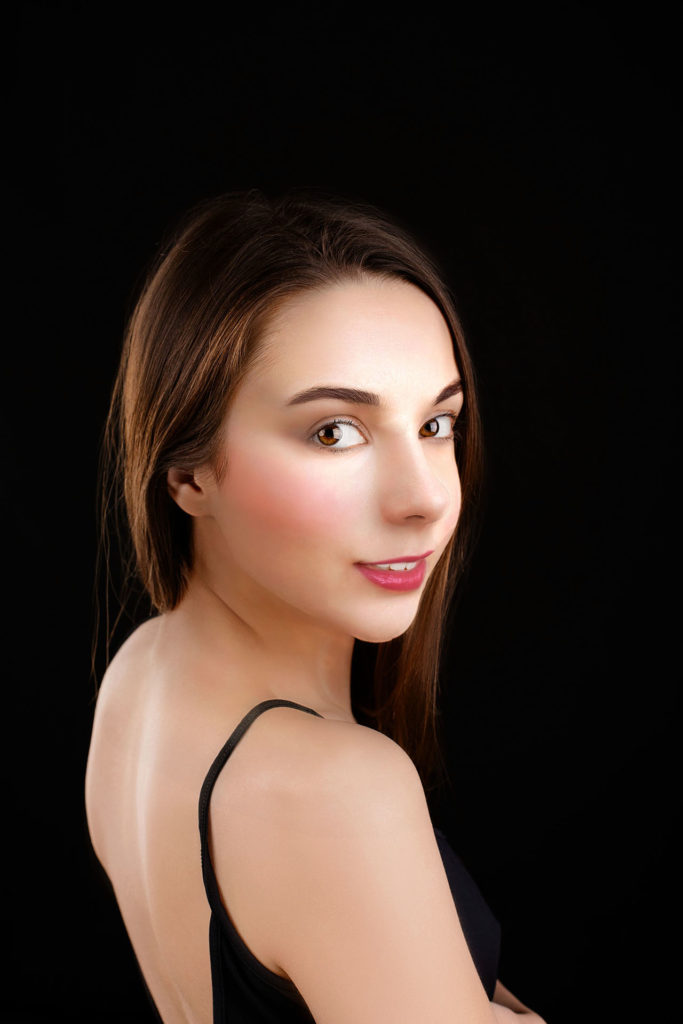
Here is the result of this edit.  Look how natural and balanced the skin retouching and makeup look.
portrait retouching tutorial for beginners,
Before
portrait retouching tutorial for beginners,
After

If you want to download the image to practice you can download it here for free. It is not mandatory to credit the photographer, but I think it an act of respect to do it.

I hope you like the video tutorial please share. 

Check this other portrait edit using PortraitPro here: Retouch skin in 10 minutes or less

Blessings,

Jose
Leave a Reply

Your email address will not be published. Required fields are marked *